According to the internet, a gravel bike is a cross cross bike – a cross between a cylo-cross bike and a road bike. I’m not sure exactly what that means. Read the internet.
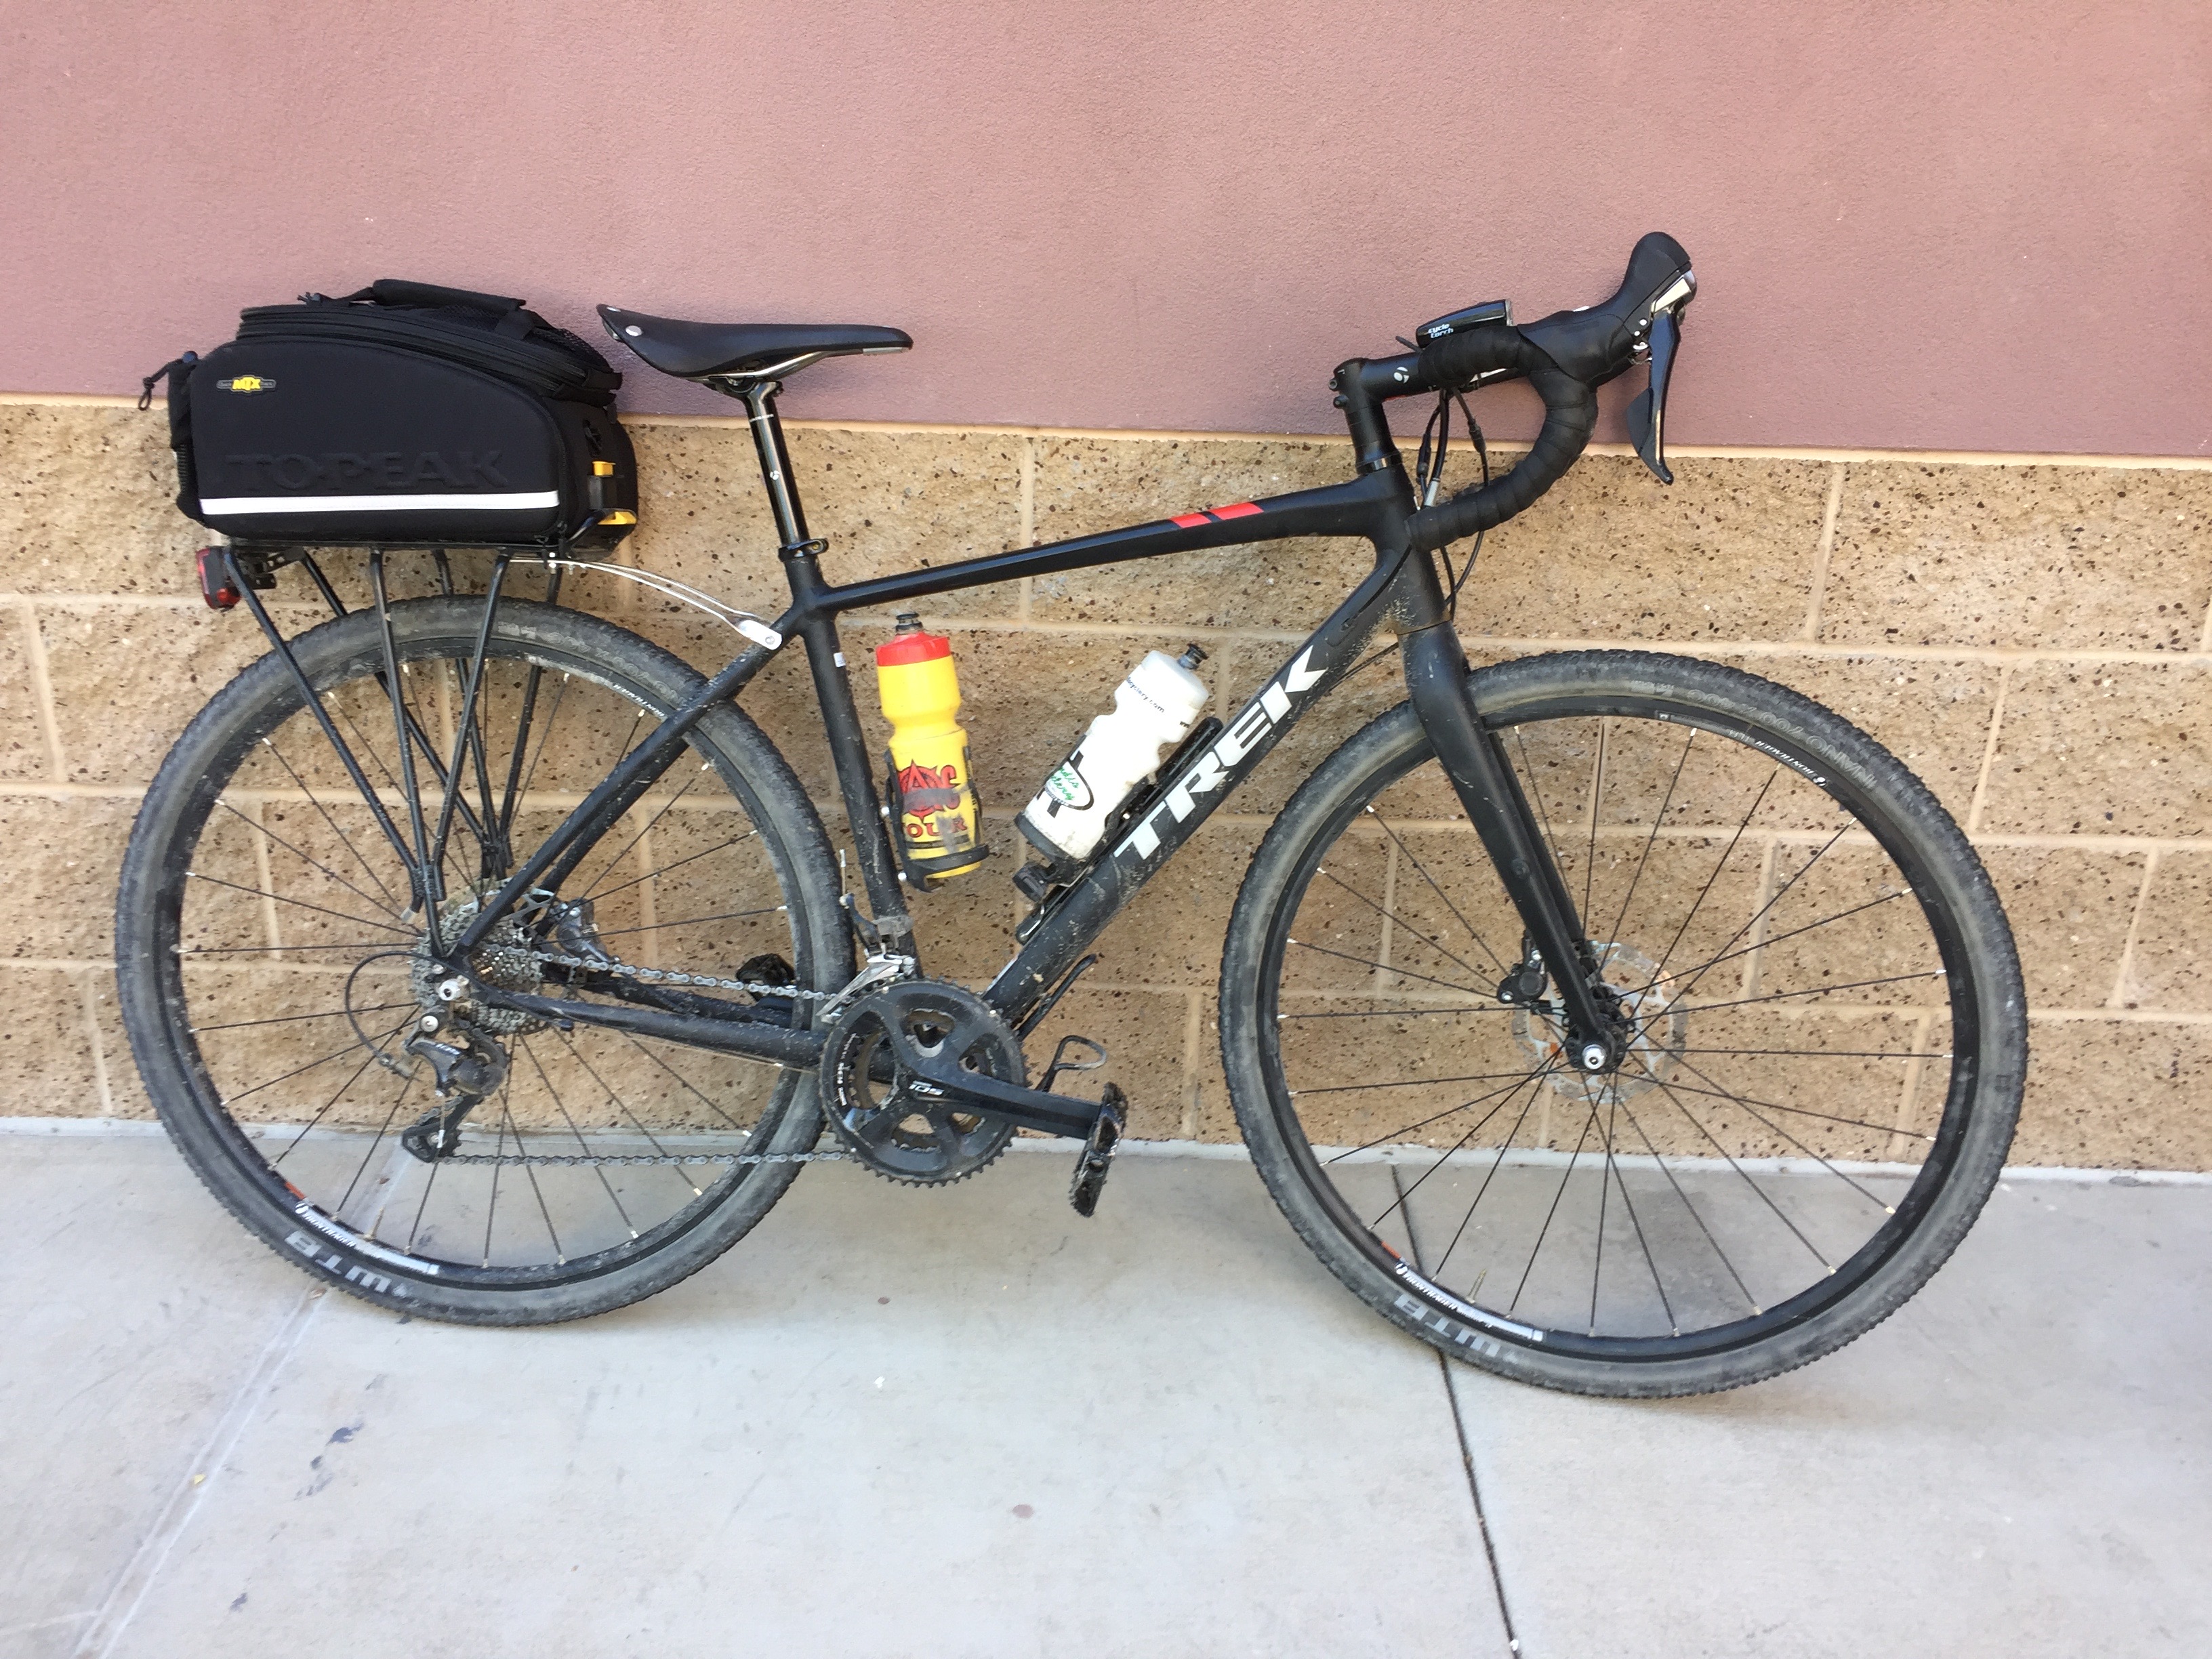
My Gravel Bike
I spent a day shopping at five local shops, and selected a bike with a frame that fit me correctly, could be modified with clearance to mount 40mm tires, and a shop wrench who was competent to make the modifications. One of the shop guys spent an hour doing a complimentary bike fit, which set up the bike with a good starting configuration. Later, I raised the saddle to where it was supposed to be, flipped the stem so it felt more like a road bike, and switched to WTB Nano tubeless tires.
As of this writing, the bike fits me almost as well as my Davidson. It has a longer wheelbase, meaning it lumbers through turns, but has better stability on rough road. The tubeless tires running at 35 psi provide a softer ride over washboard and rocks.
Gravelventure
I’m pretty sure OED hasn’t added this word to their tome of true words yet, because I just made it up. Gravelventure means taking your gravel bike somewhere you’ve never been before. Ideally, but not necessarily, a gravelventure includes some unpaved road. It’s okay to check out your route on Strava, rideWithGPS, or Google Earth, but not okay to drive it beforehand in your FWD. Sag support on a gravelventure is out of the question. Riding from home is a plus.
My First GravelventureS
FR 17 to New River Mesa
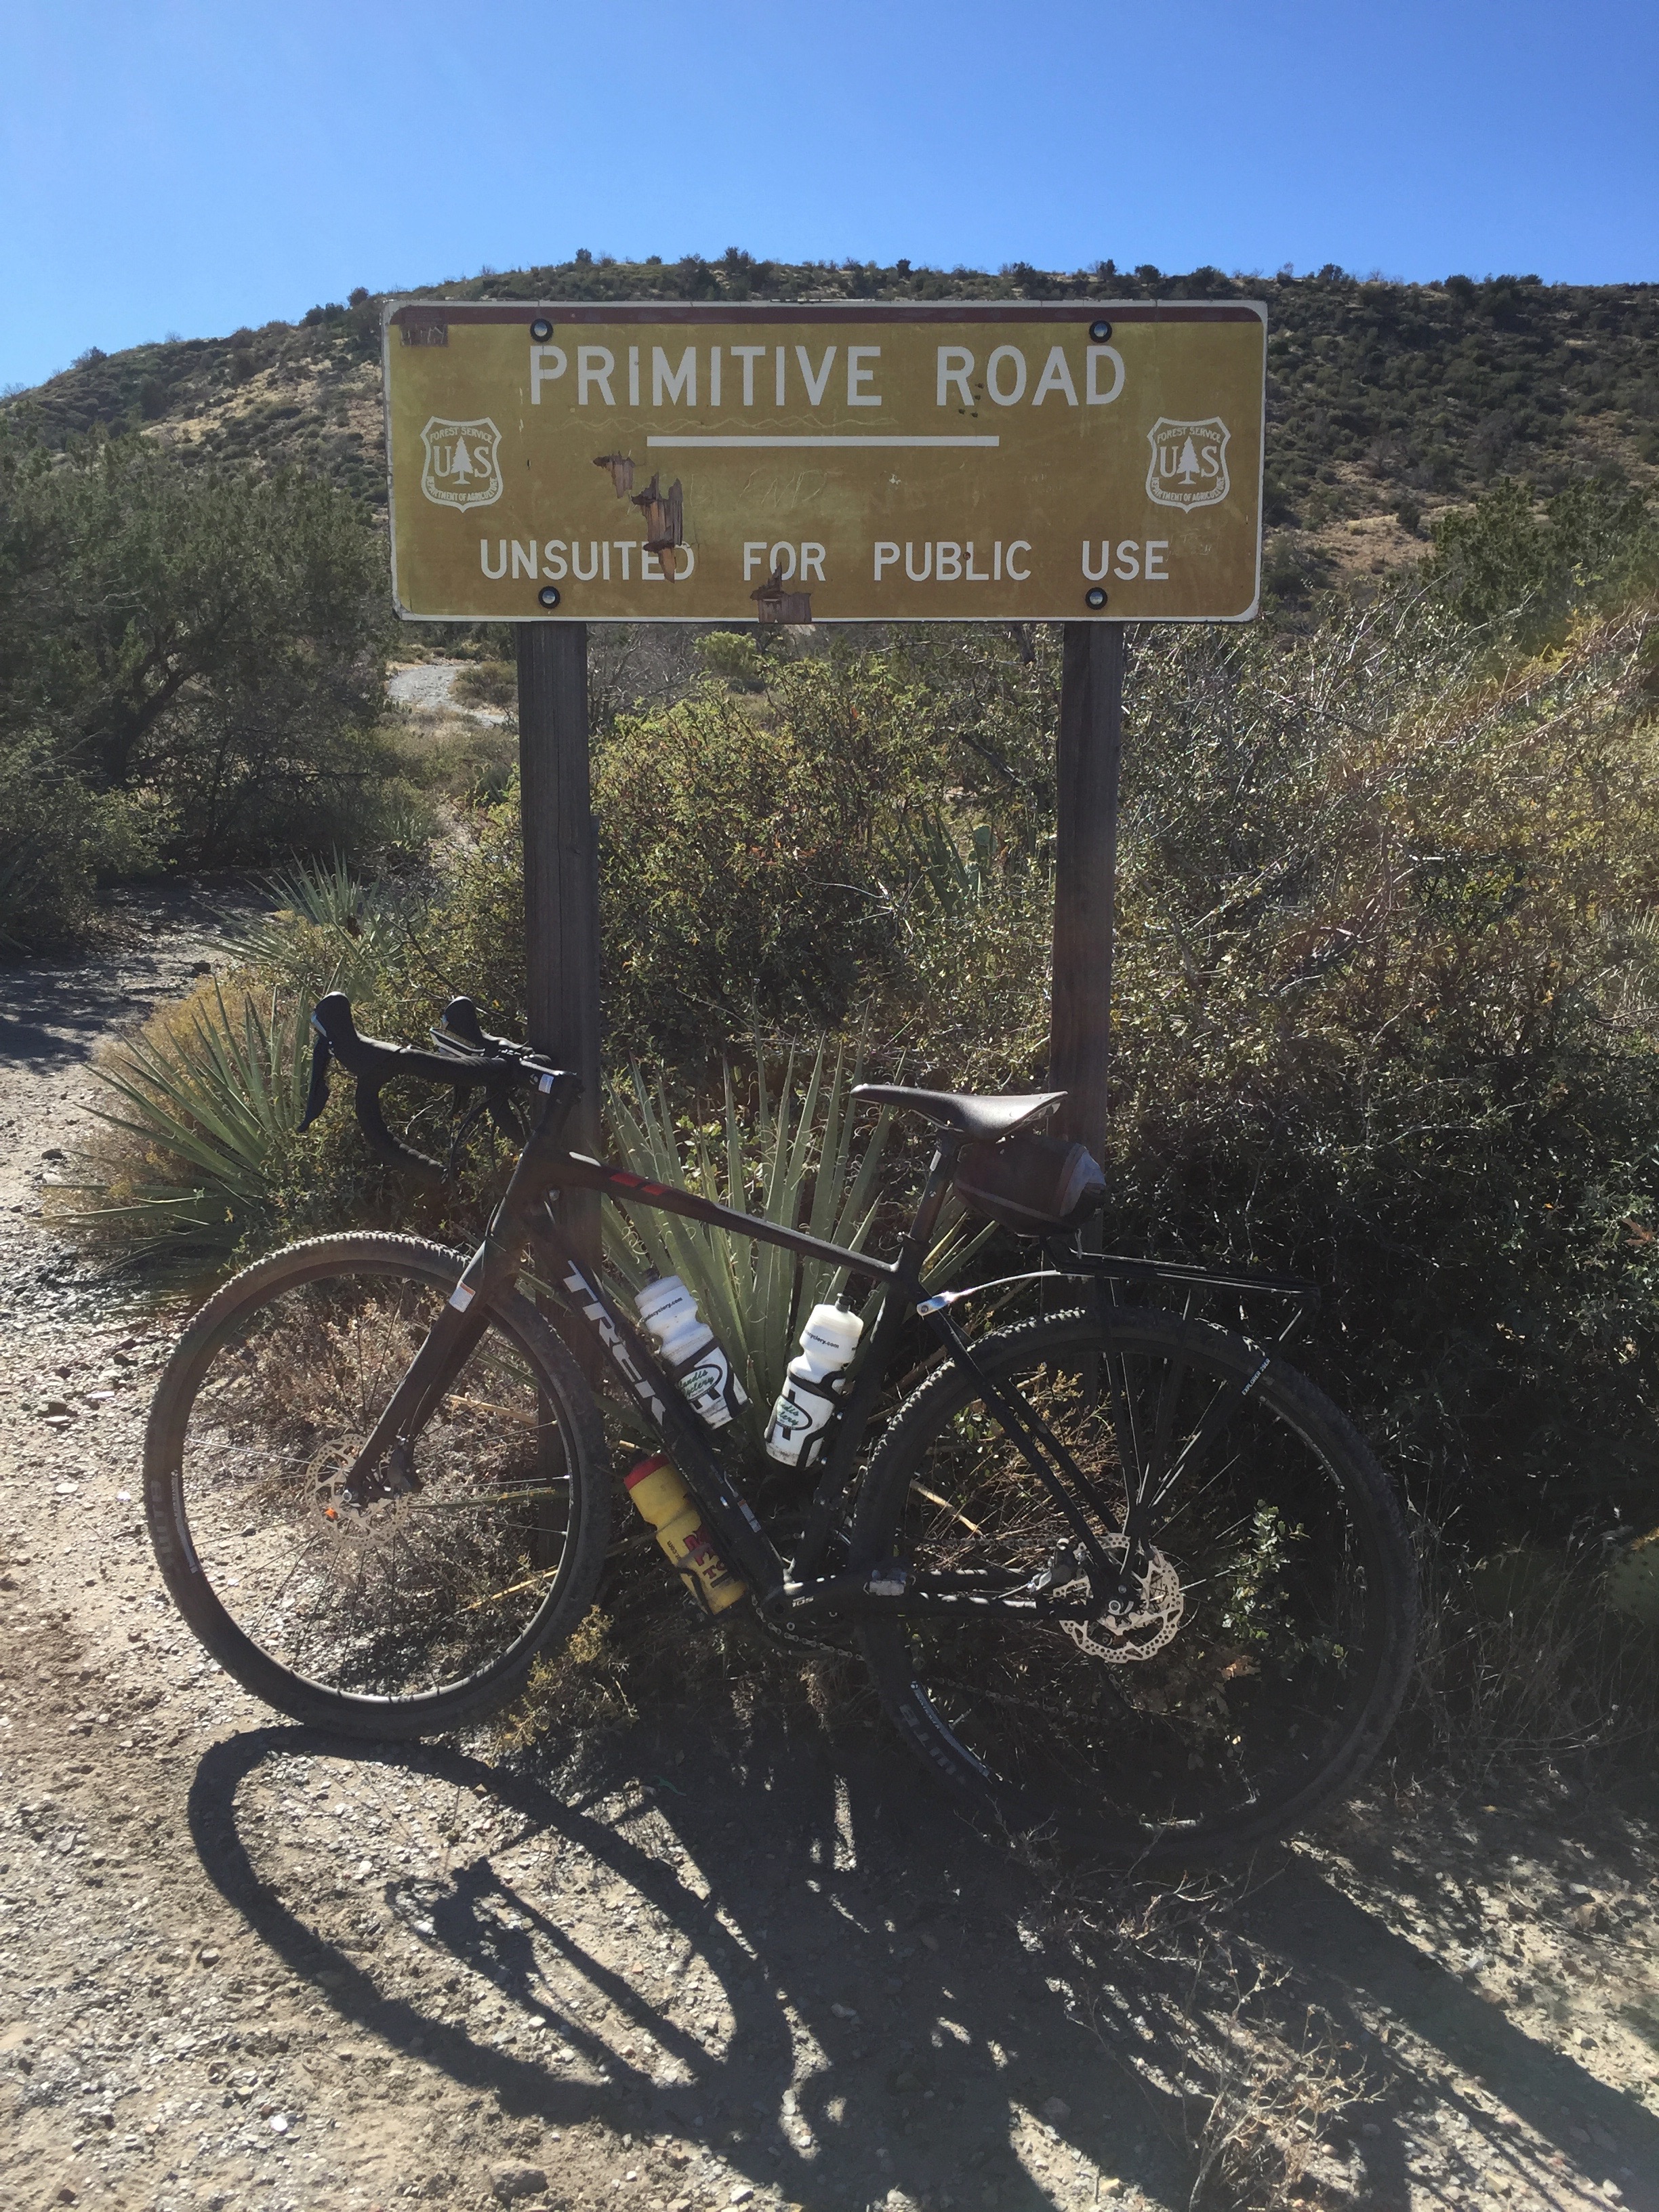
I began exploring the local forest service roads near my house. Road conditions range from sandy smooth, to bumpy washboard, to rocky to impassible.
I rode with my buddy Brett Blanc (BB) from Tonto Hills, out the Seven Springs Road (AKA Arizona FR 24) to the 51 Ranch, which I never before knew existed. A week later, I rode Lone Ranger style out FR24, hooked a left on FR41, then another left onto FR17. When FR17 became unrideable, I carried my gravel bike half mile over a boulder field to the top of New River Mesa.
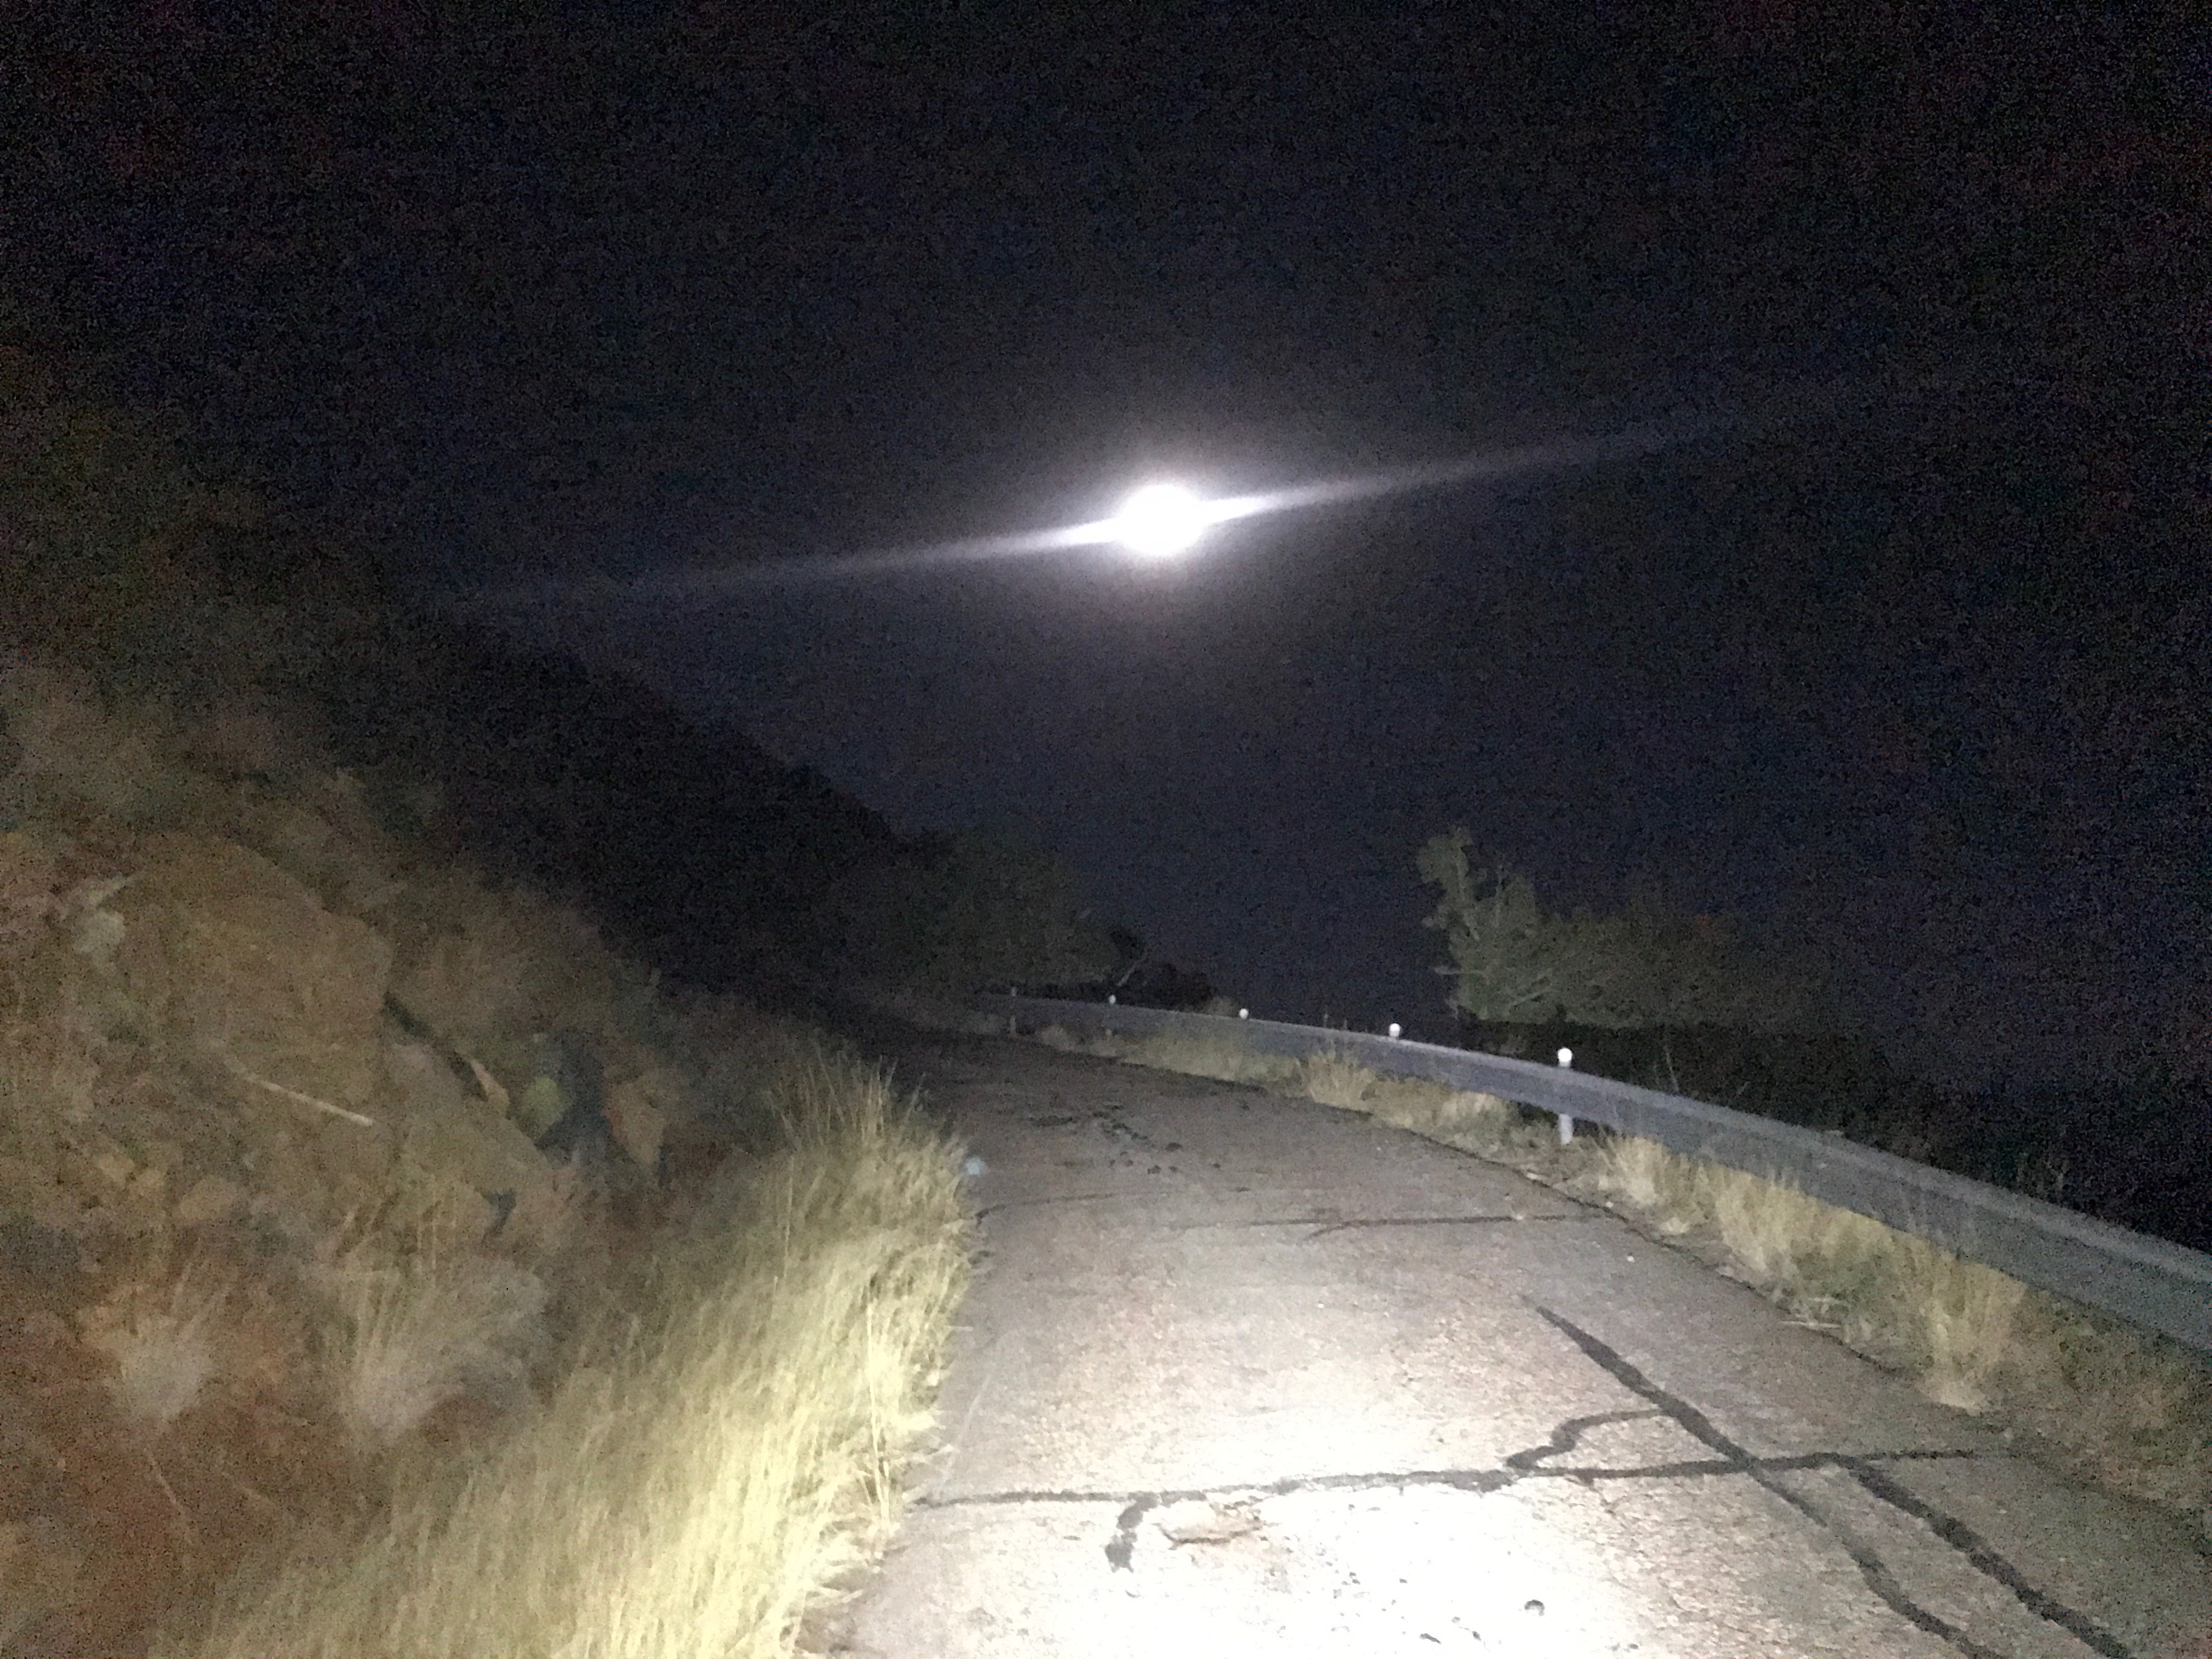
Humboldt Supersoon
A week later BB and I climbed Humboldt Mountain under the light of a super moon. Although I had ridden that route several times before, this was my first and possibly only climb under a super moon.
Overnight Gravelventure
Pretty obvious – ride your gravel bike somewhere, stay overnight. That means you have to carry some extra stuff. While camping out provides the ultimate freedom to stop anywhere, staying in a motel means you carry less stuff, get a shower, and don’t wake up the next morning with aches and pains from rocks rubbing your ribs.
My First Overnight Gravelventure
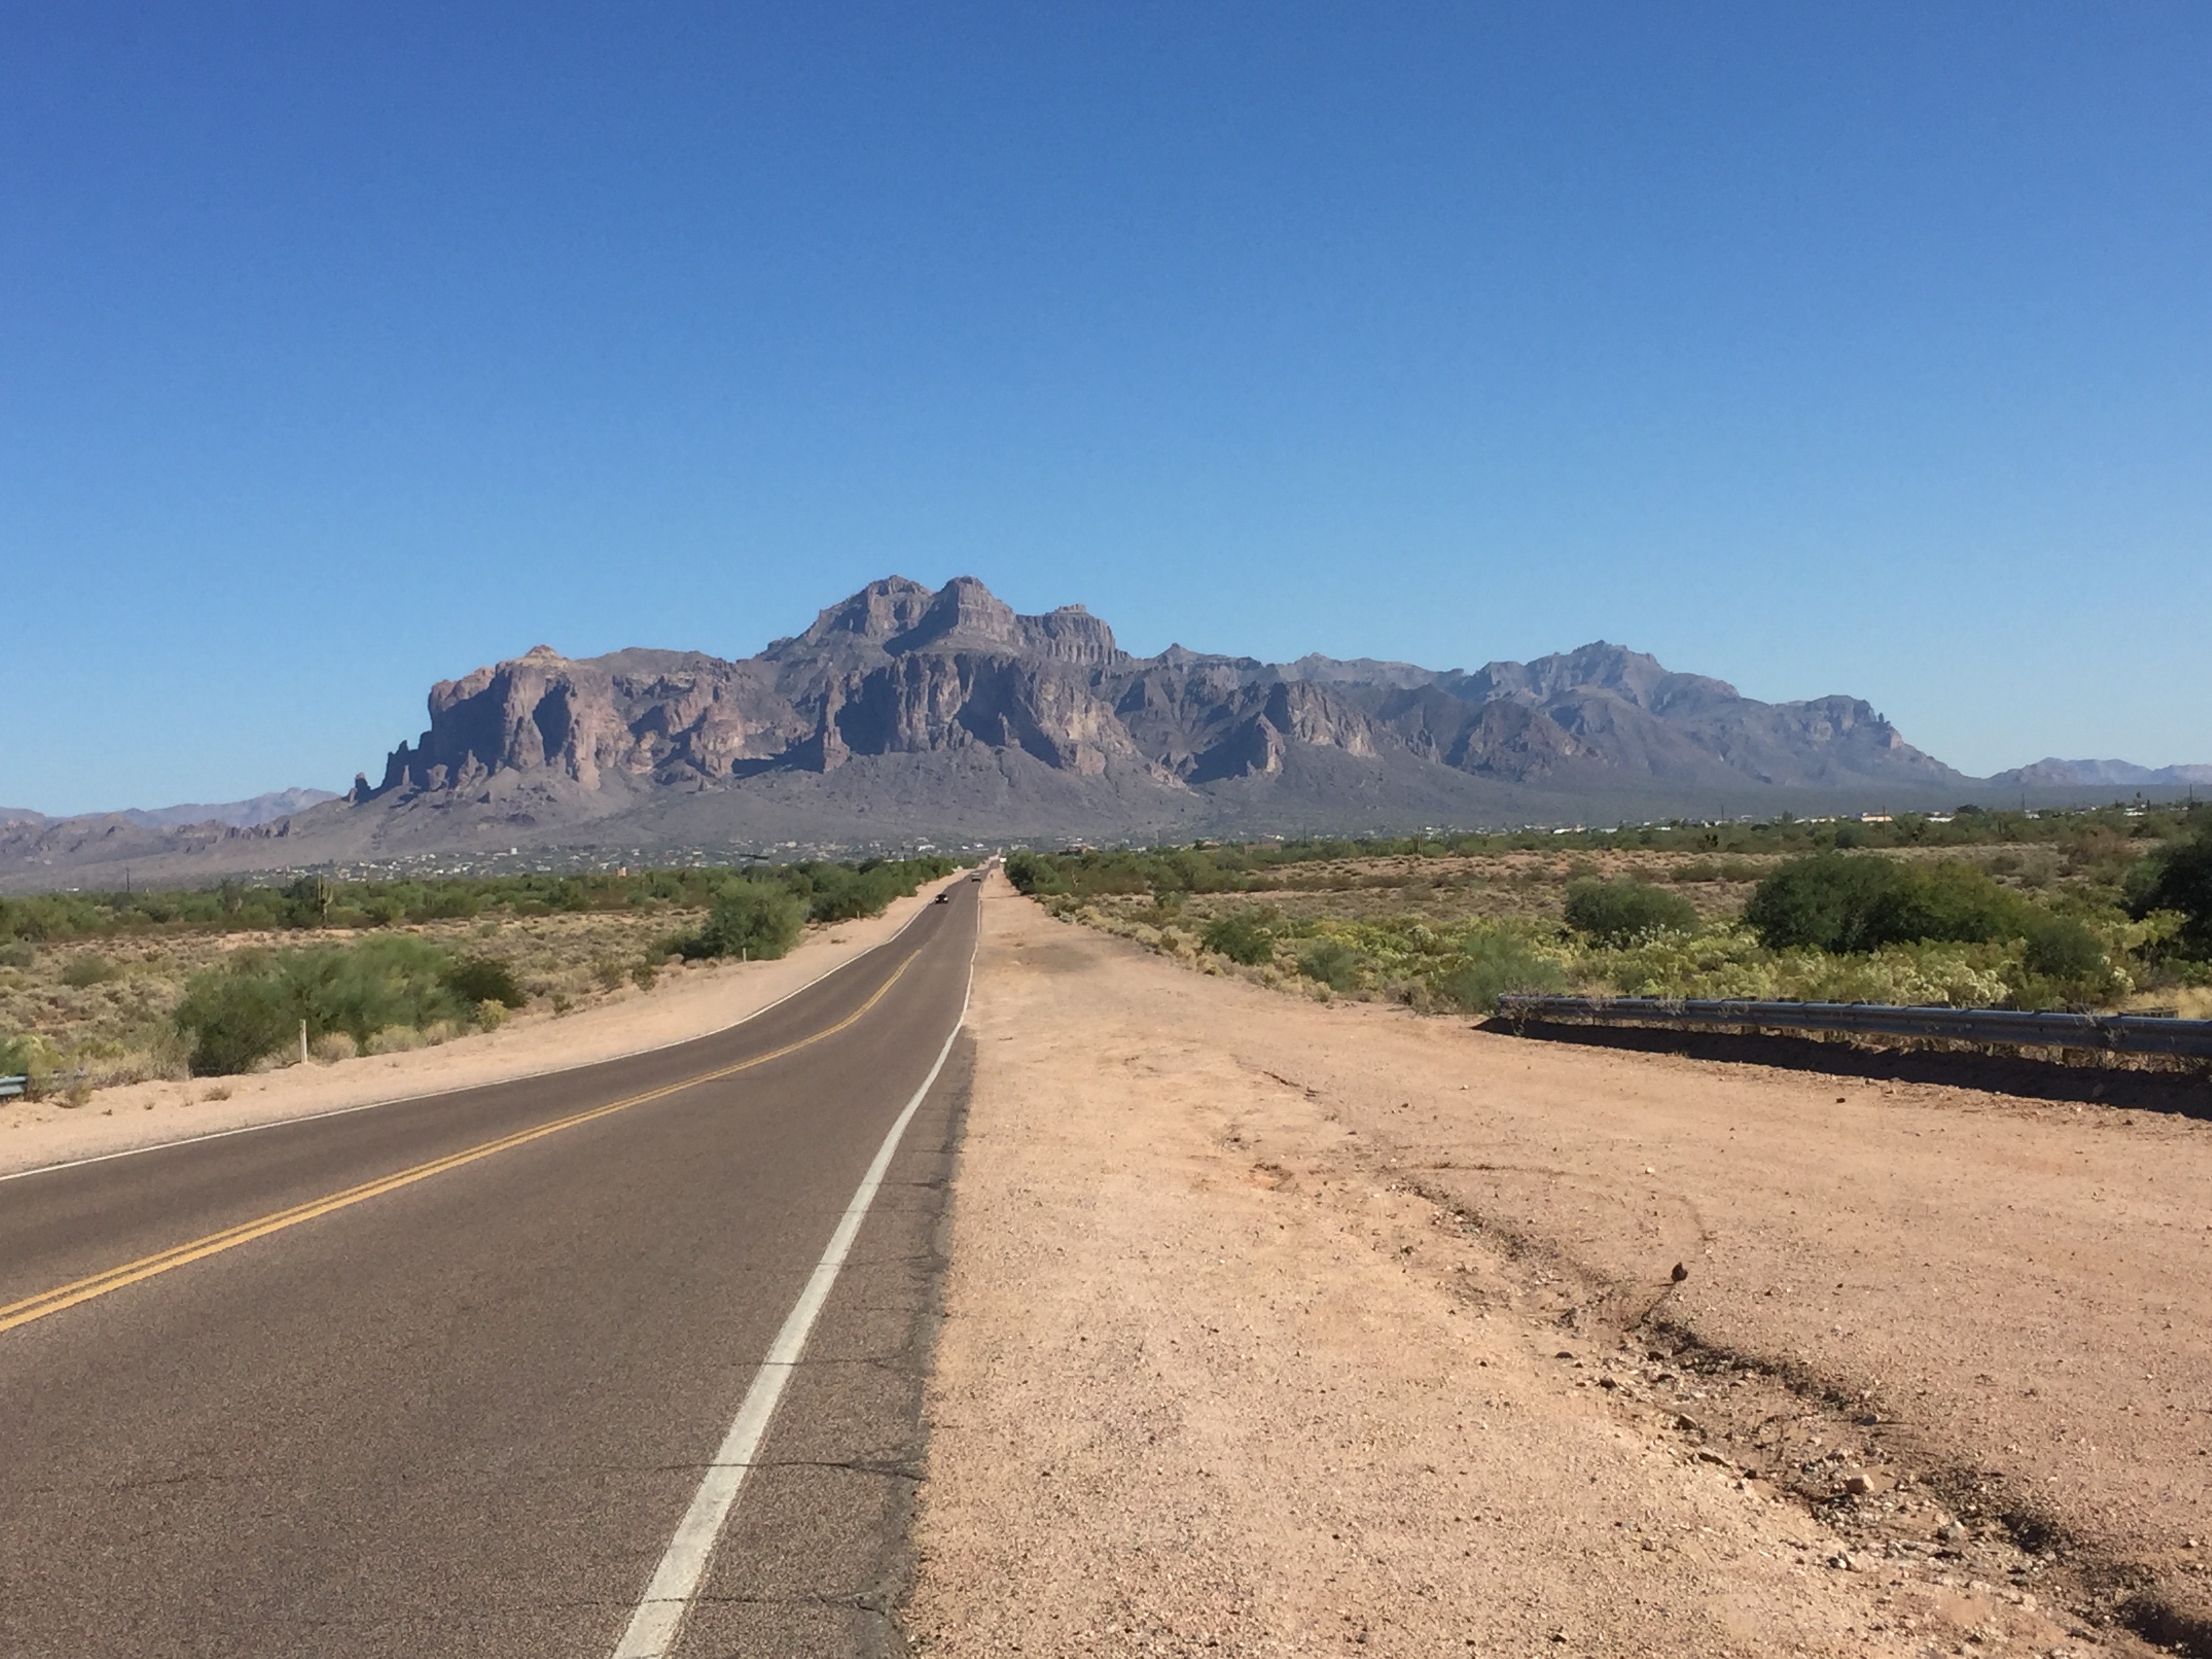
Road to Superstitions
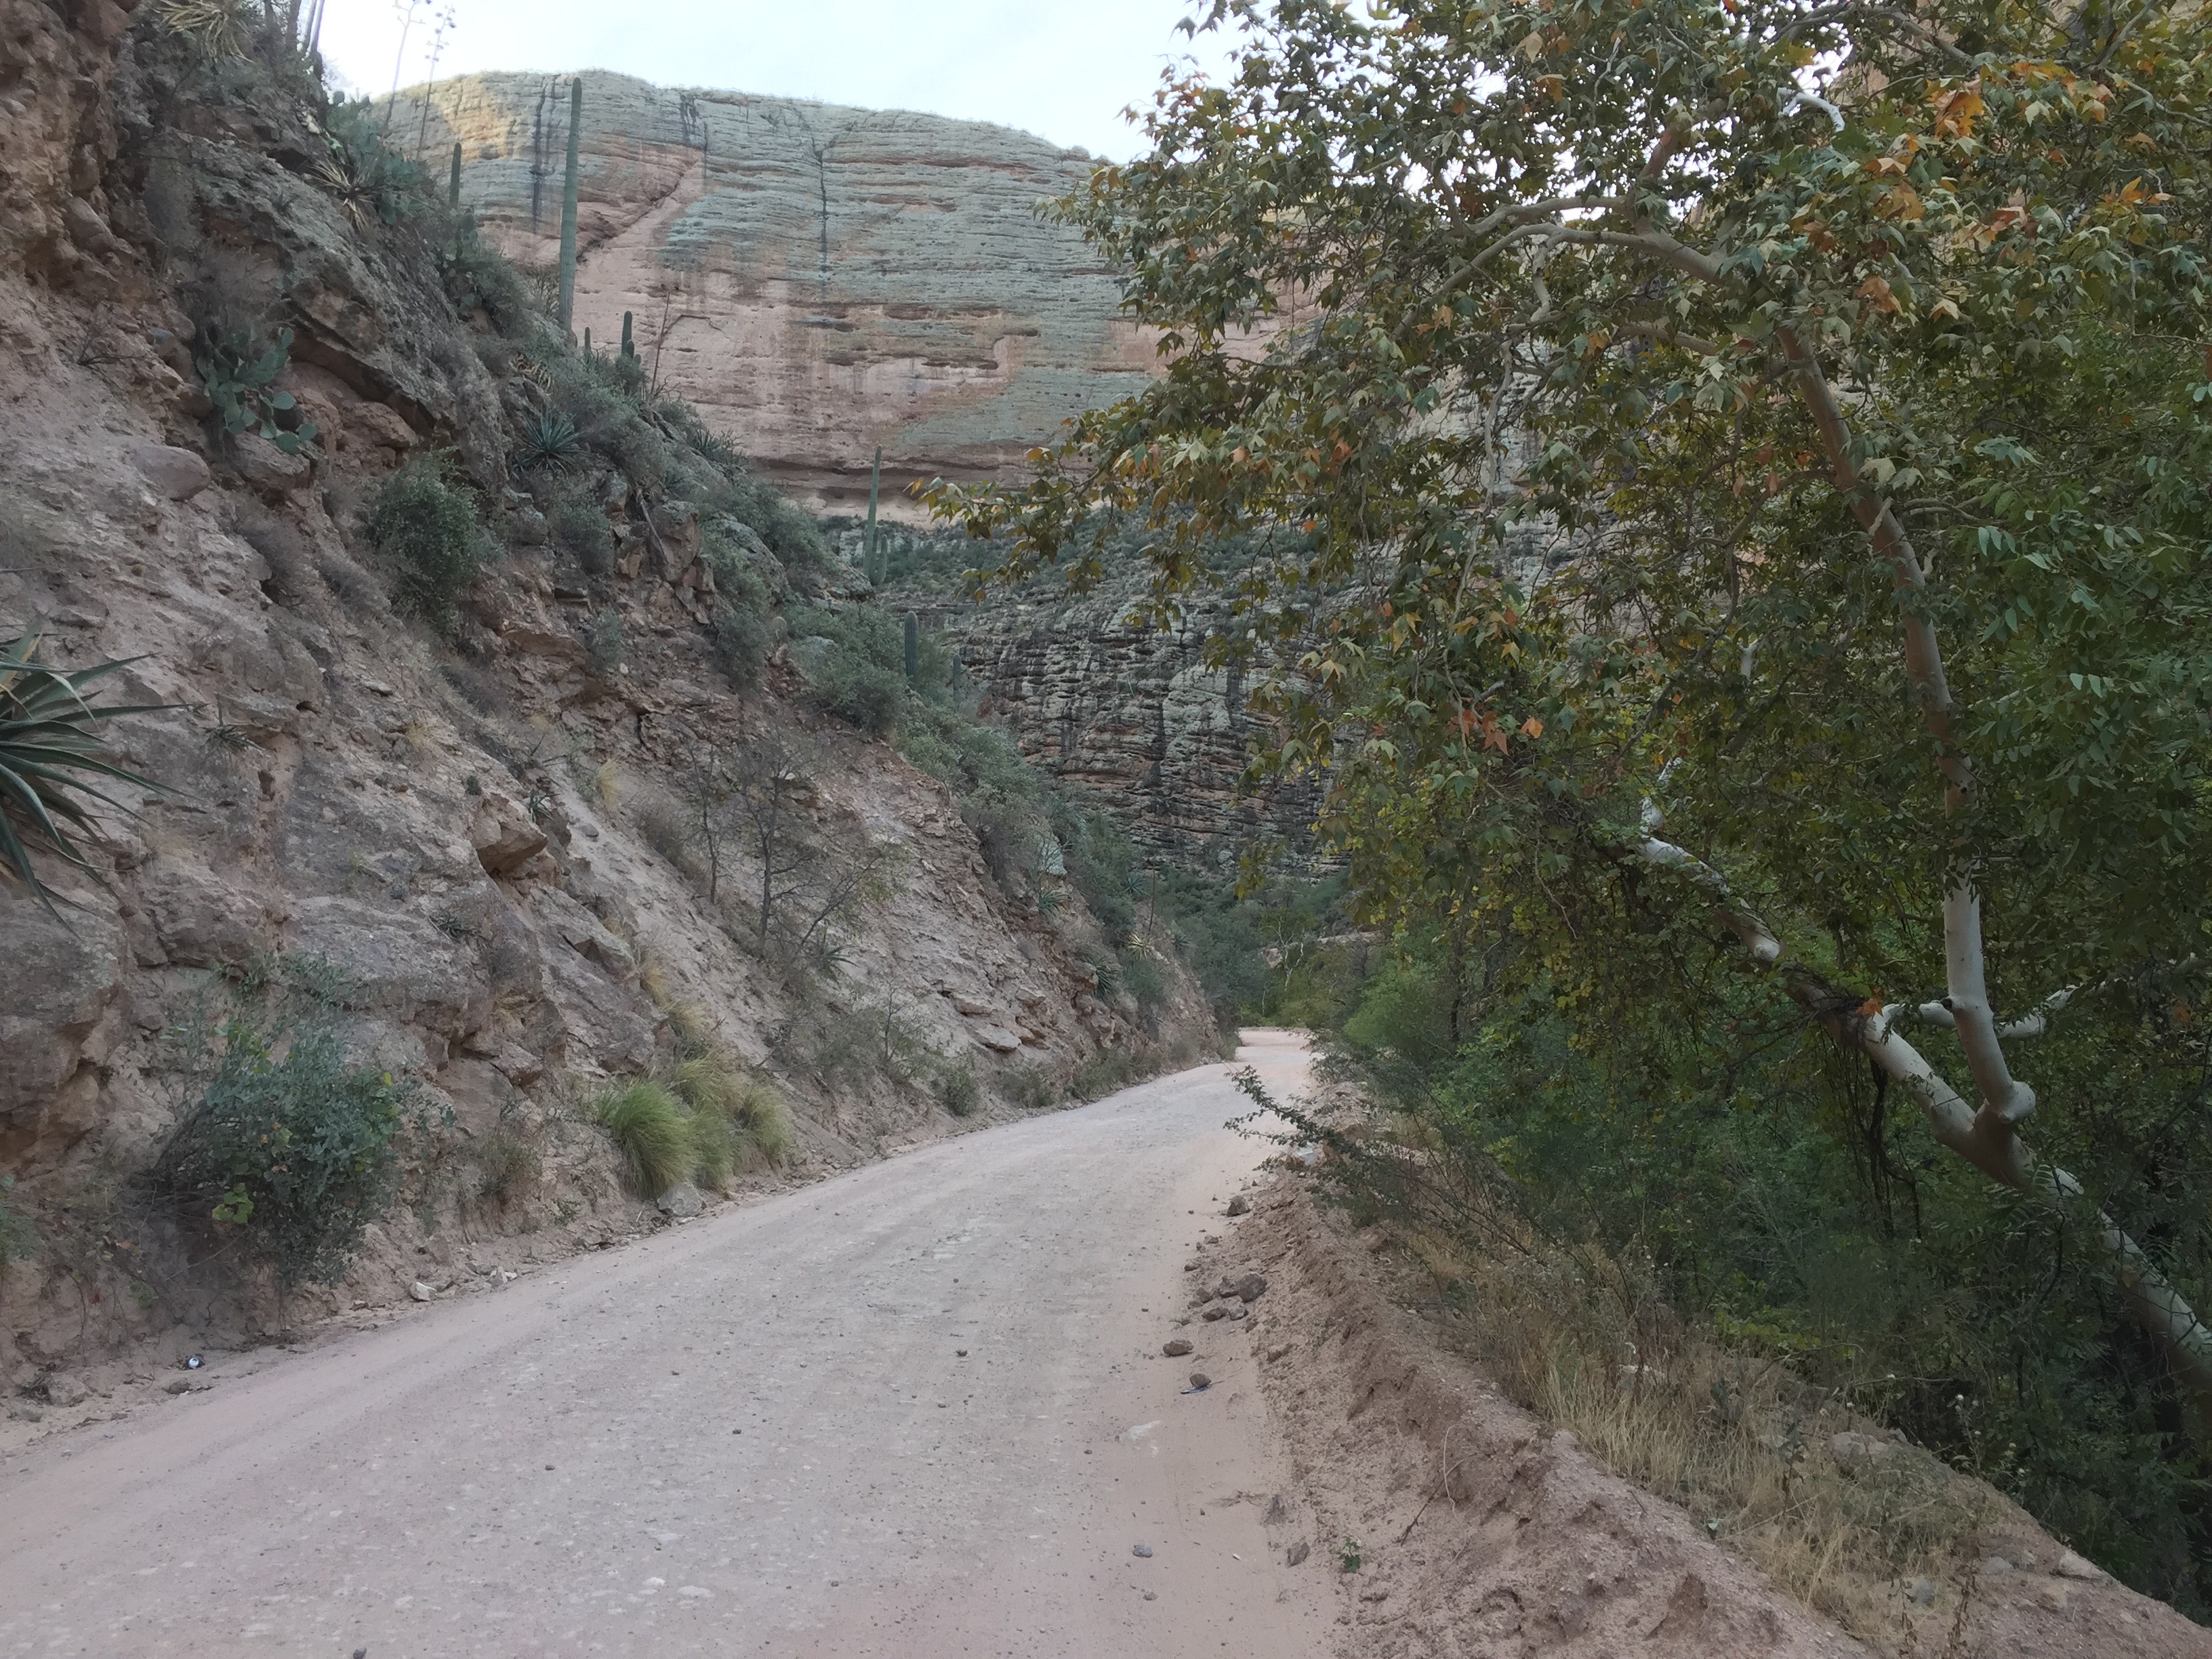
I rode from our home in Tonto Hills, AZ, south and east to the Superstition Wilderness, a mountainous region created by a resurgent volcano 25 million years ago. After riding the requisite 50 miles to escape the city, straight road became winding road. Office buildings gave way to towering spires, buttes and rock walls. Massive faces of dacite and welded tuff glowed in the golden afternoon sunlight, and most of the traffic vanished. Eventually the asphalt pavement turned to dirt and washboard, as I descended two miles into a box canyon formed by Fish Creek.
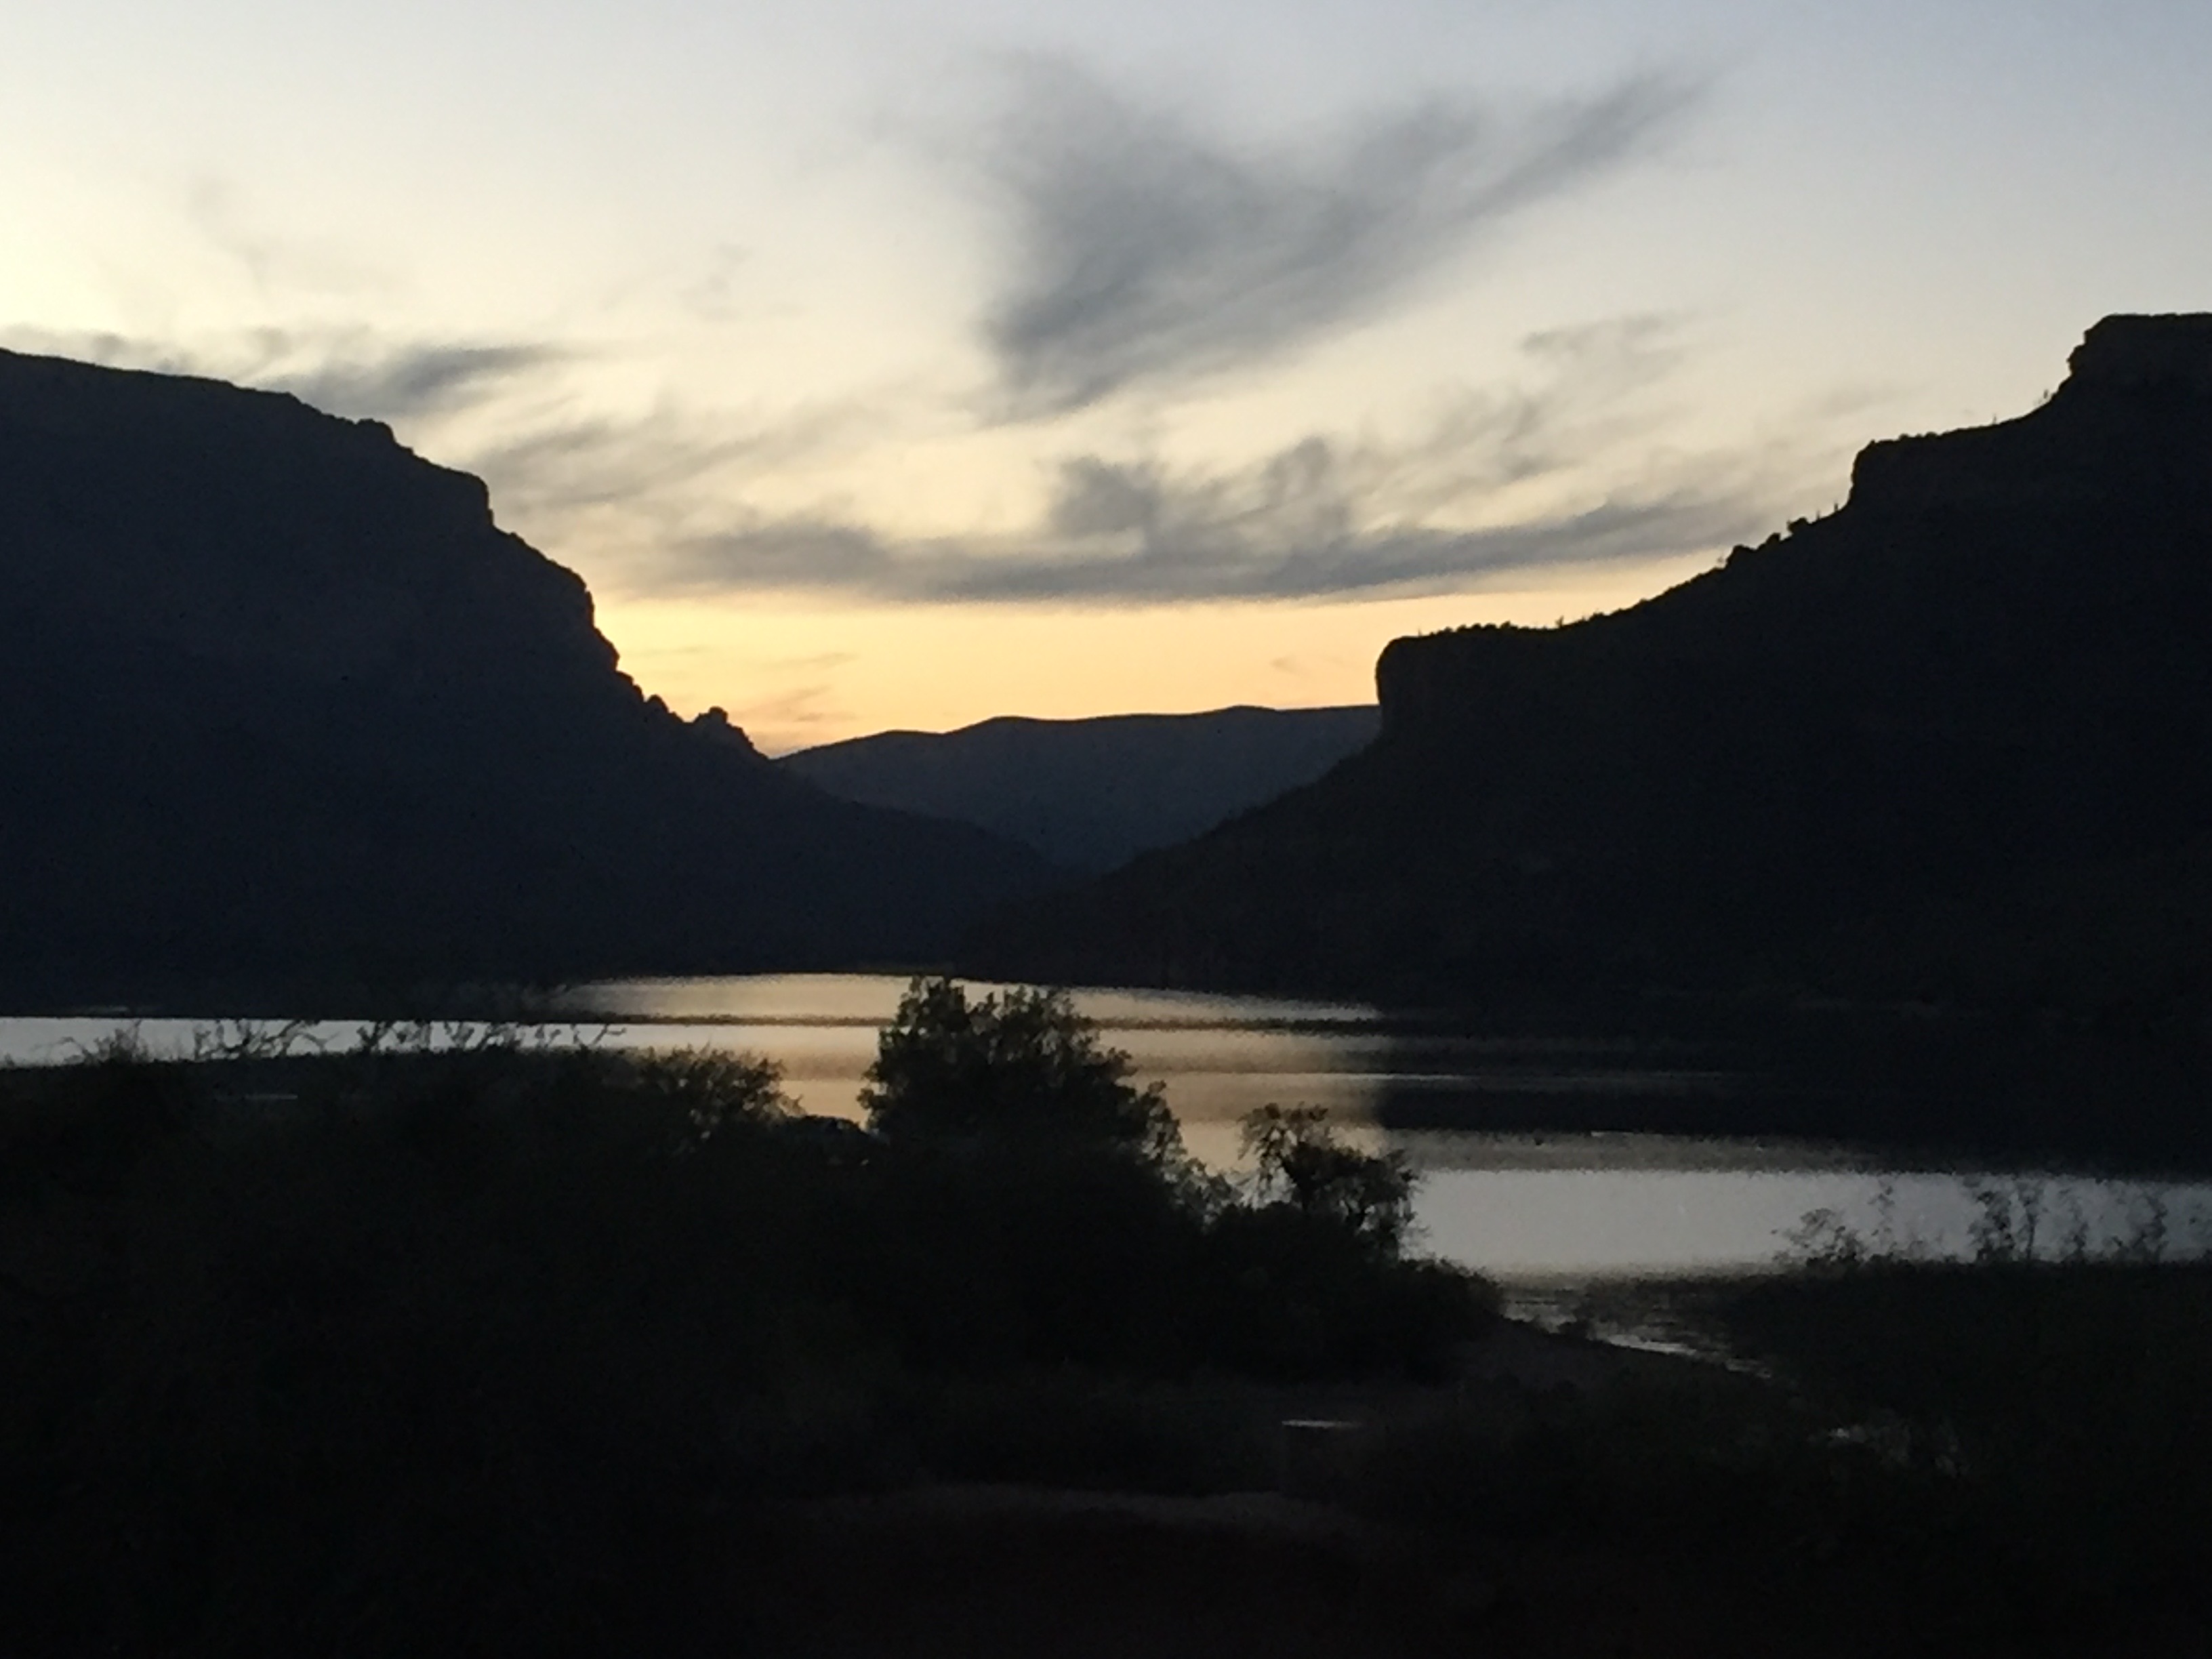
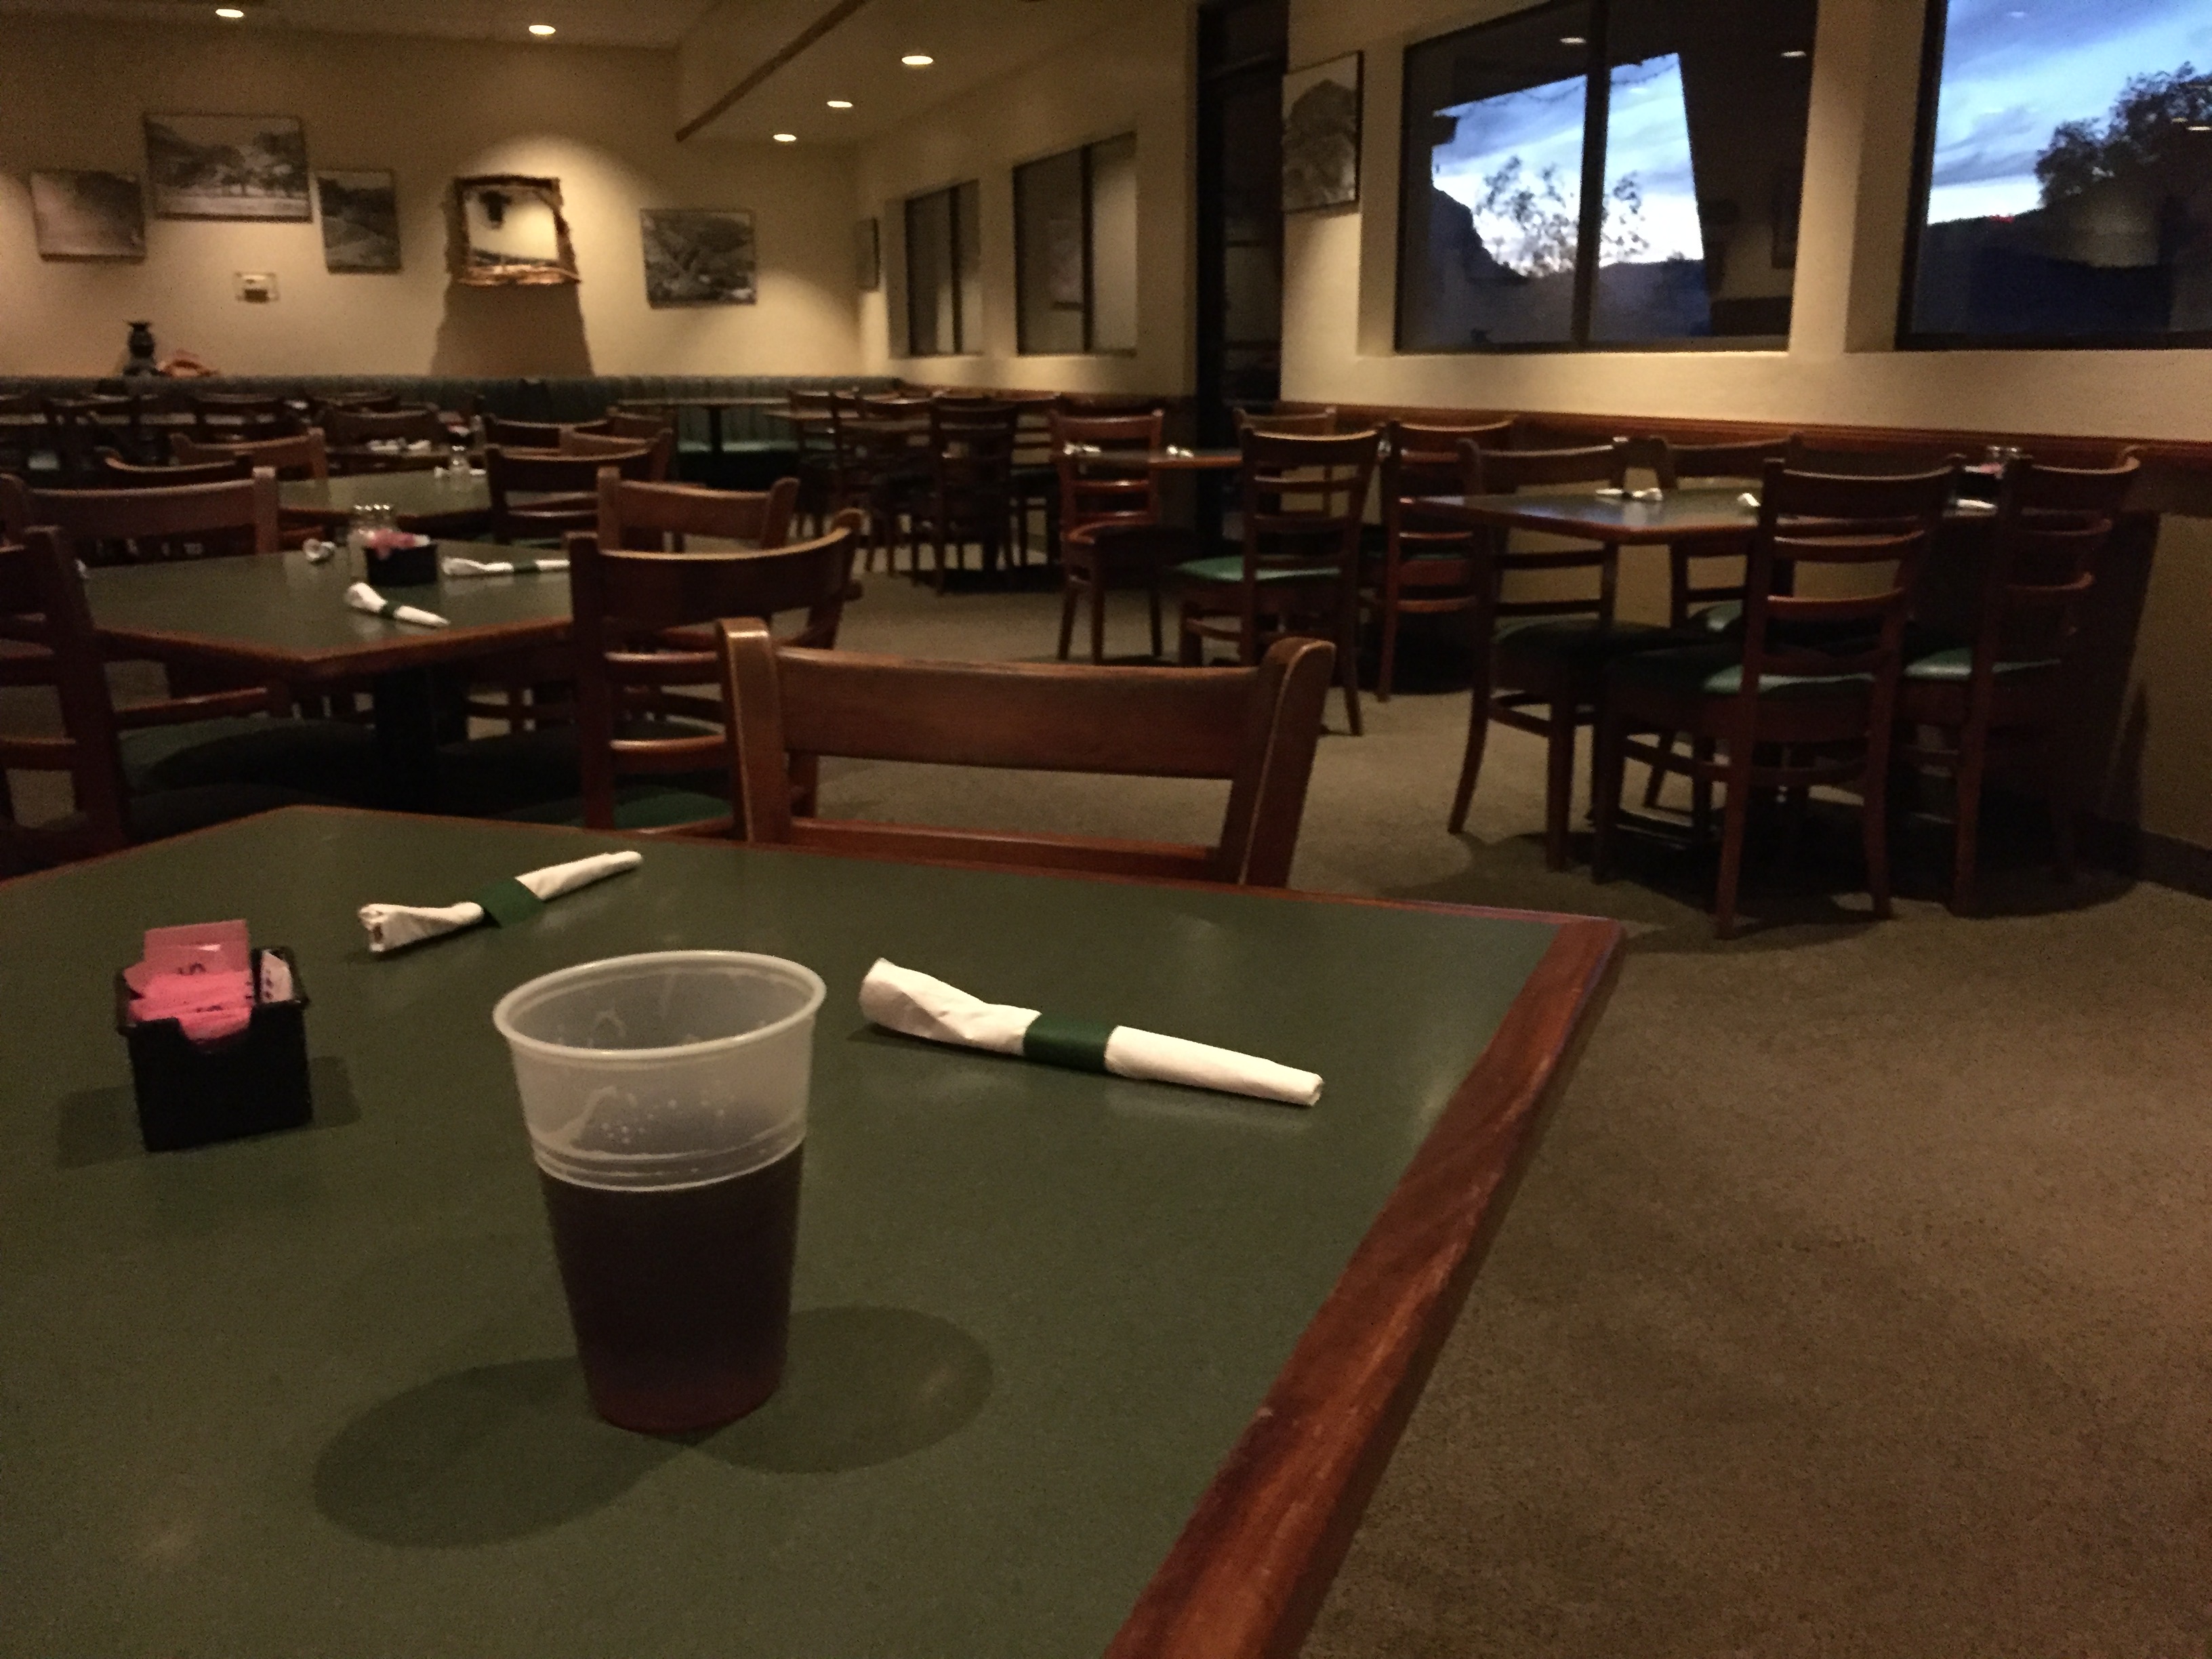
Box CanyonApache LakeAmber Bock
Ninety miles from the start I reached Apache Lake Resort, special only because it was there, a king size bed and restaurant in the middle of the wildness. The motel room was basic and I was the only customer eating in a spacious restaurant where the waitress served me draft amber bock in a plastic cup.
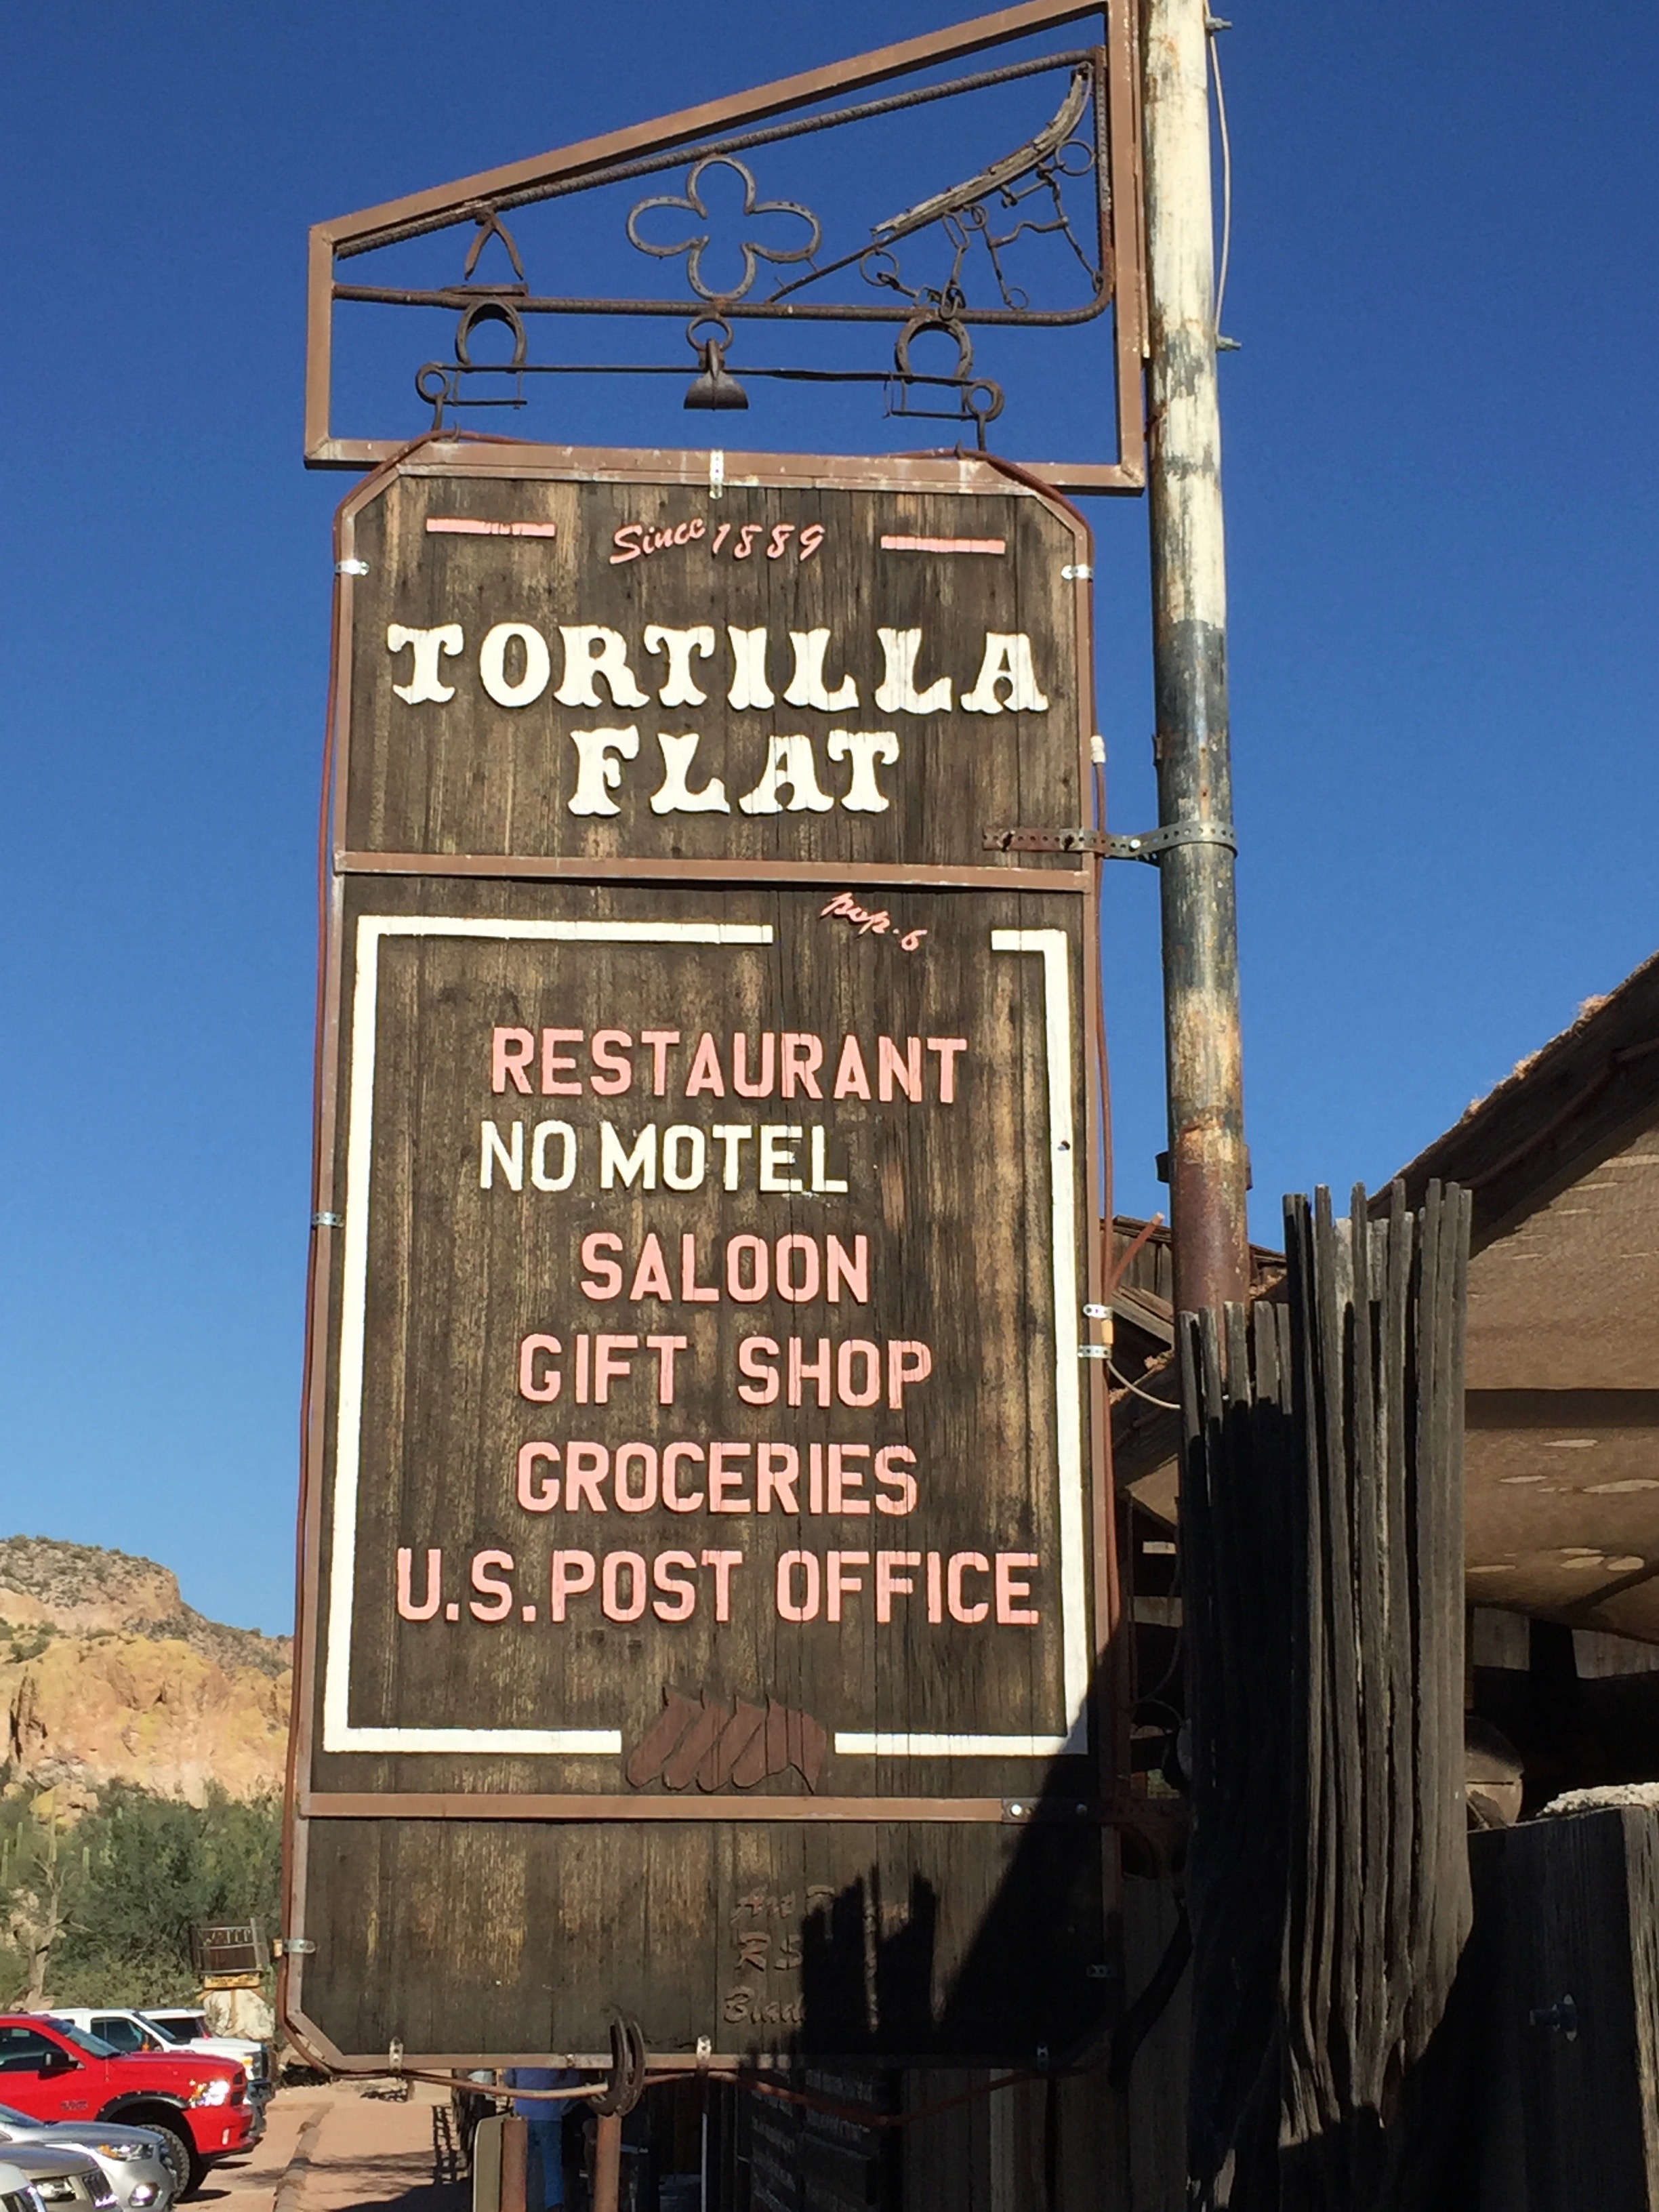
The following morning I found to be most enjoyable, foregoing coffee and breakfast to climb a couple thousand feet through the crisp morning air and riding fifteen miles before having breakfast in the saloon at Tortilla Flat.
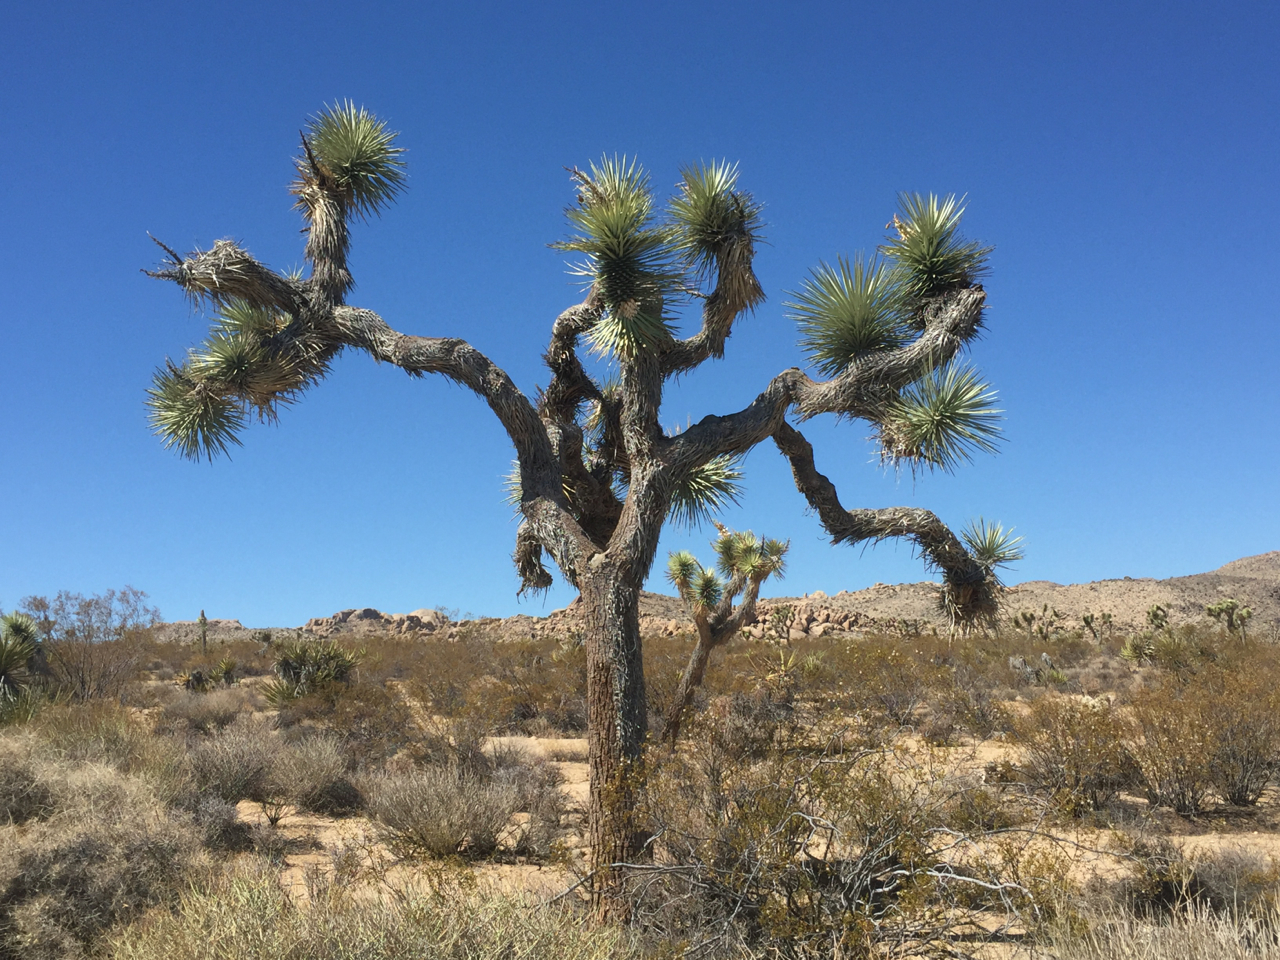
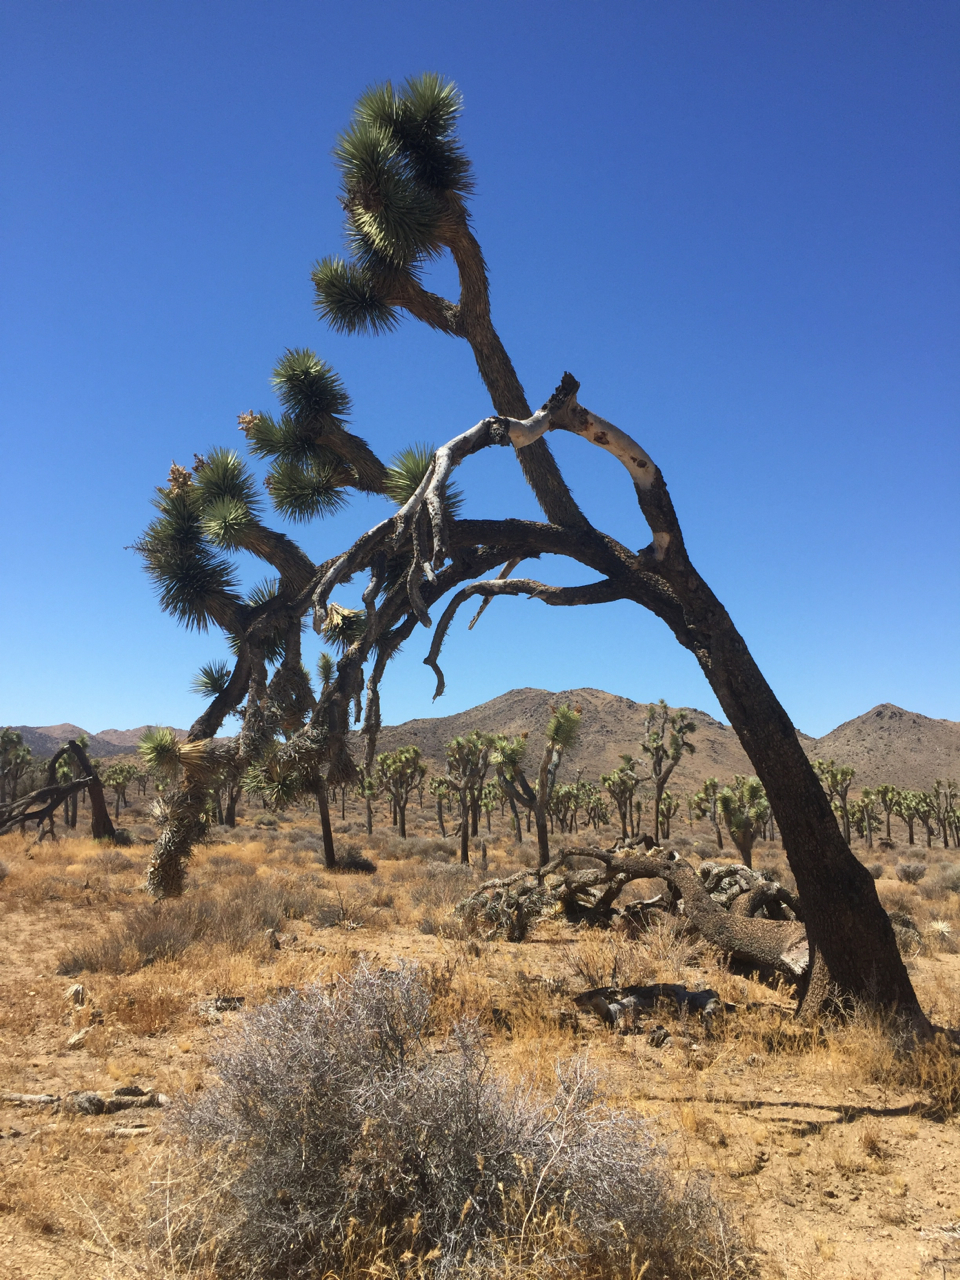
Joshua Tree plant was named by the Mormons because it reminded them of the outstretched hands of Joshua when he entered the promised land.
I made a plan and created a route on Strava to ride 52 miles and climb 4000 feet riding through Joshua Tree National Park, which sits on the edge of the Mohave Desert in southern California. I started a slow climb from the north entrance. Before riding three miles, I had to slow down, get off my bike and just look. The Joshua Trees were doing Tai Chi.
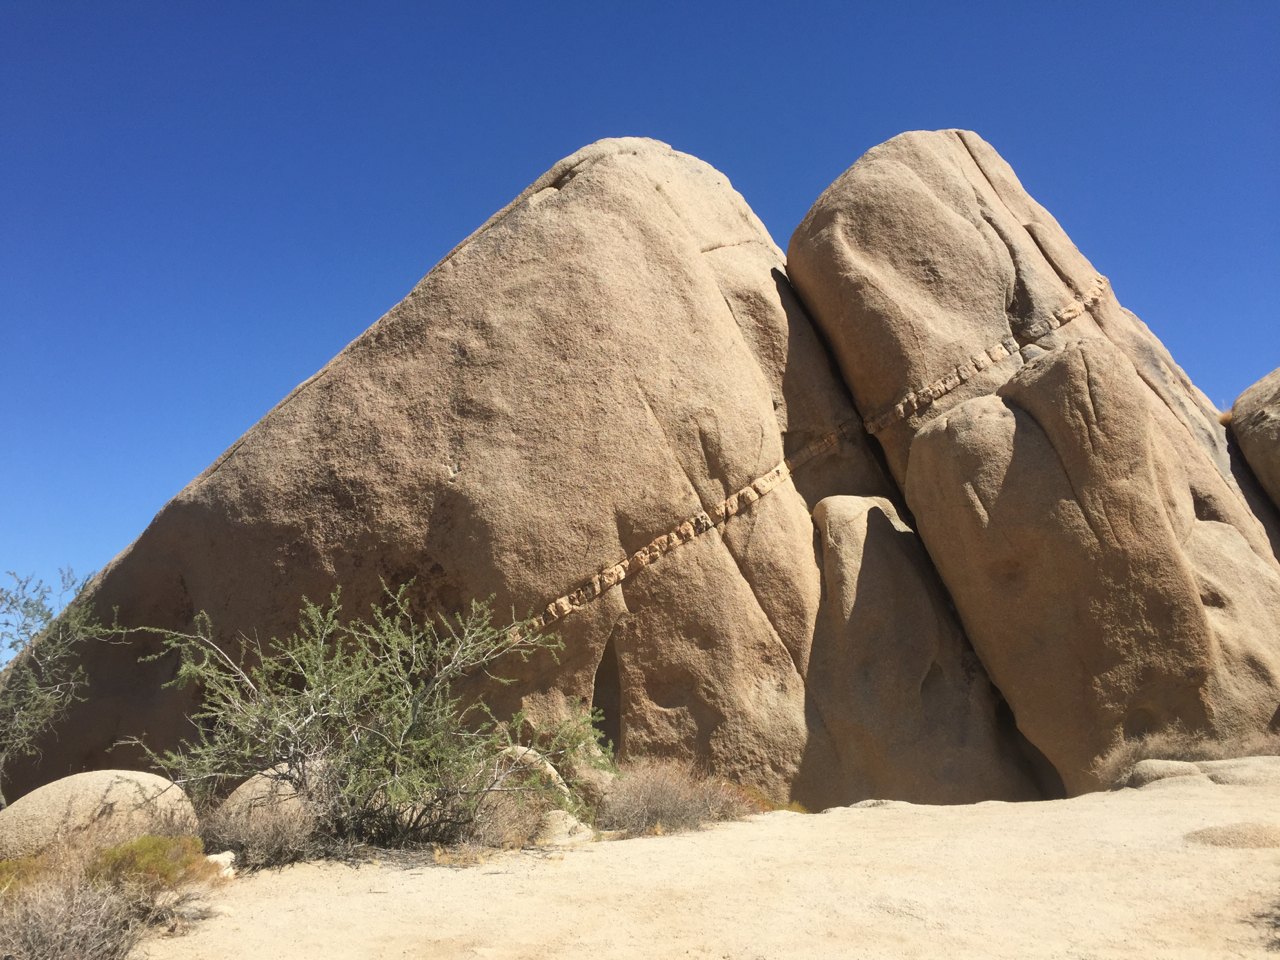
Monzogranite is a particular composition of feldspar, quartz, and biotite Mica. The band in the middle of this rock is a sill that intruded a crack created by erosion. Block faulting created the tilt.
Within another couple miles my rock nerd engaged. Stopping at the exhibits, I learned there are two basic types of rock in the park: Pinto Gneiss, a metamorphic rocked formed 1600 million years ago; and Monzogranite, an igneous rock that intruded on the gneiss 85 million years ago. Most of the gneiss has eroded, leaving a cornucopia of contacts that create a backdrop for the Joshua Trees.
So rode a mere 40, miles but touched the soul of the the place I was visiting. That’s bike touring.
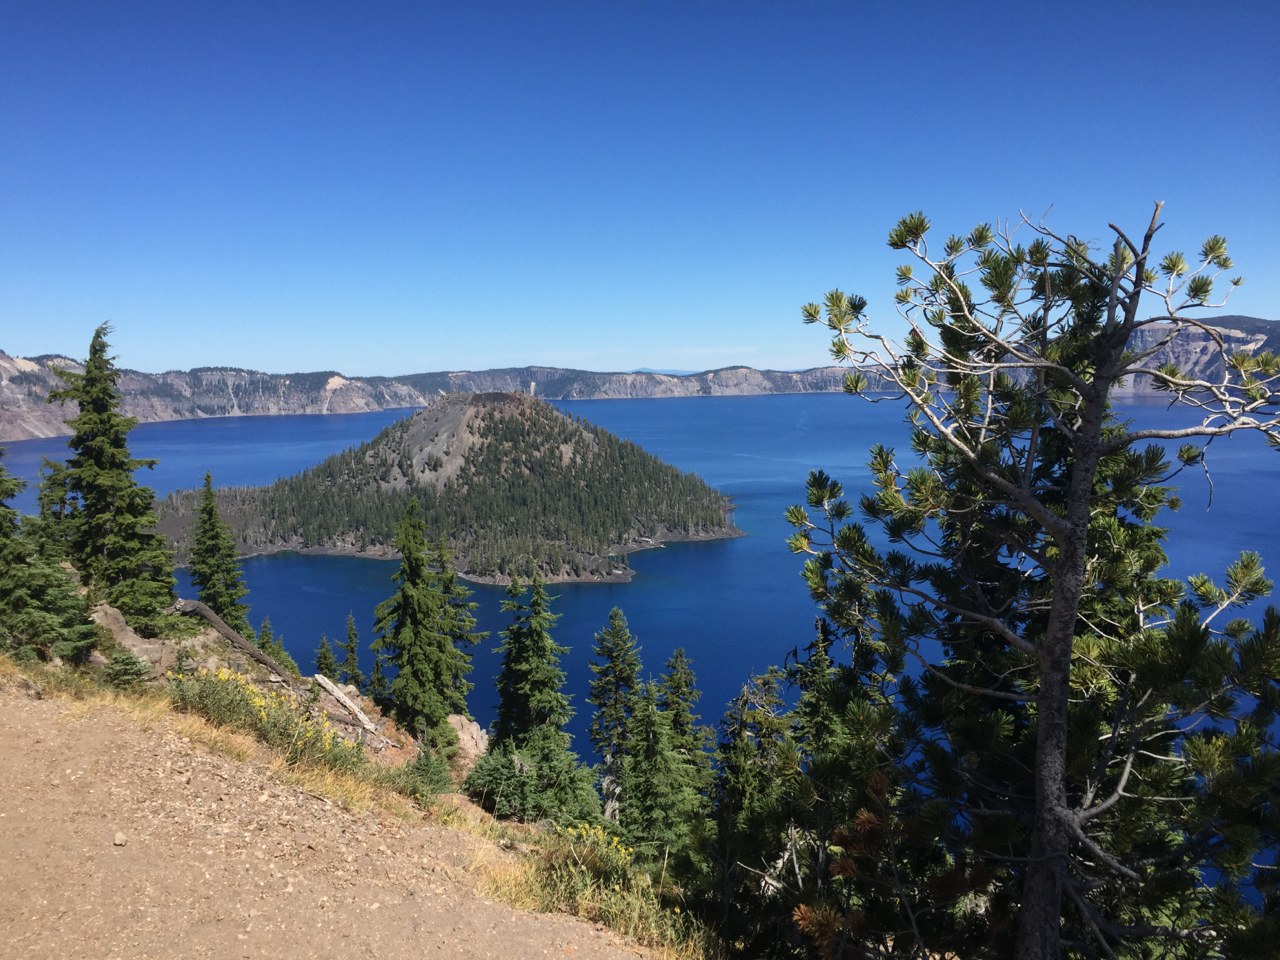
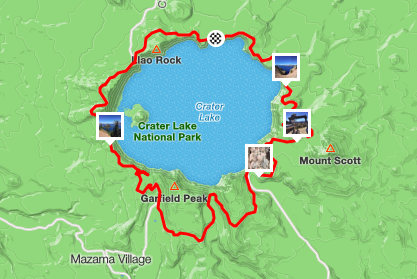
Mount Mazama erupted violently 7700 years ago and formed a caldera. In the years that followed, 1900 feet of accumulated rainwater formed Crater Lake. I rate the 34 mile ride along the rim somewhere on my top ten list.
Cinder Cone in Crater Lake
The road winds along the rim, up and down through forests of pine or hemlock, past unstable walls of andesite and dacite, and meadows of dry grass or granulated pumice.
Garmin reports total elevation gain was 3400 feet with a high point of 7800 feet on the east side of the lake.
Today Facebook has 1.7 billion worldwide users. I’m not one of them. Several times this year I found myself asking why not, maybe I should join up. I miss seeing my son’s posts from Japan, I miss seeing posts about Saturday bike rides, and I don’t know what else I’m missing by not seeing posts from my old friends at Microsoft.
Every time I was on the verge of signing up, I found a new reason to say no to Facebook. Strava provides all the social media I want.
Facebook No
I hate Advertising. The real purpose of Facebook is to provide a vehicle for advertising. You cannot read a person’s posts without seeing ads. Even if people claim they don’t buy stuff that’s promoted, I believe advertising influences our lives in more subtle, and more insidious ways by manipulating our values.
People post a lot of stuff I don’t want to read. My daughter described how I would be inundated with a myriad of trivial details. From what I’ve read, most people don’t care about what other people write anyway.
Or people do care about other people write and they get depressed. People post what they want the world to see, not a true view of their lives, not the blemishes.
I don’t want any part of the Friend – Unfriend drama. I don’t want people to feel hurt because I unfriend them, or because I don’t accept their friend requests. I don’t want to feel hurt because someone declines my request.
I don’t want to connect with people I knew in high school, or old girlfriends.
I watch people waiting in line at Starbucks, glued to their smartphones, thinking we should invest more time talking to each other.
My friend Bob recently told me about re-posts. I’m not sure I understand them, but they sound awful. Apparently a lot of what people post is not original, rather a proliferation of advertising.
I’m not sure I understand Like’s, but apparently they resemble kudos on Strava. Push a button to show you like other peoples’ posts – even if you didn’t read them, or they didn’t write them. Collect a lot of likes, and you’re cool.
Stava Yes
Strava allows me to stay connected to people I know. I get to see stuff they did, activities that I might want to do.
People have to actually do something to post it on Strava.
We can post pictures on Strava.
Any activity on Strava is worthy of a kudo – hard ride, easy ride, long run, short run, walk, swim, who cares? Someone I know did something fun. Give a kudo.
This post does not provide a knitting tutorial. YouTube has many excellent teaching videos. I’m describing my experience, learning from how I learn to knit, and learning to translate directions provided by my loving wife Martha.
Cast On
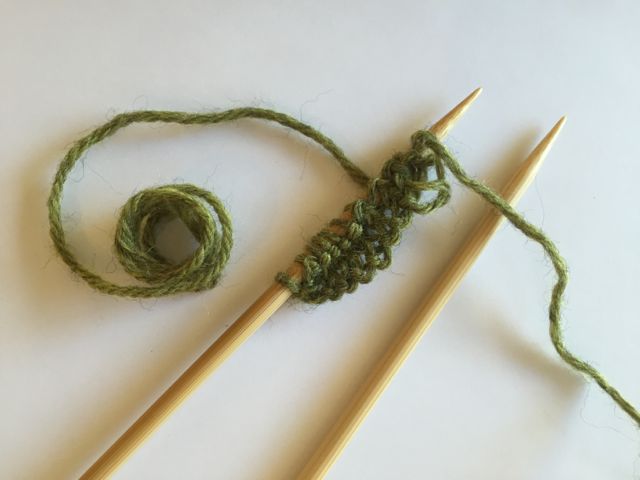
Ten Loops Cast on to a Wooden Needle
Casting on places the first row of loops on a needle. Martha demonstrated how to do cast on, then let me try it. My fingers flopped around as I tried to grasp the thread. Also, because my visual memory sucks, I couldn’t remember what I had just seen, let alone repeat it. She walked me through a few loops, step by step; finally I was able to do a few on my own. She helped me get 20 loops on a needle.
Knit Stitch
Two Rows of Knit Stitch on Wooden Needles. Mistake near point because I stuck point through the middle of a strand.
Martha explained the first basic stitch I needed to learn was the knit stitch. She demonstrated, then I tried, encountering the same difficulty I had casting on. I couldn’t remember what I had just seen. Again she walked me through a few loops step by step and finally I was able to do a few on my own. My fingers dropped the yarn, loops fell off the needle, or I poked the point through the wrong part of the loop.
Eventually we completed a row together. She told me to do another row. After I had two loops on the needle, she started to walk away. I cried. (Well not really, but she had to come back and help me.) Even after completing several rows, I felt incompetent. Whenever I made a mistake, she had to correct it. Also, I couldn’t see the big picture – how all the stitches were creating a pattern.
Starting Over
I wanted to start over from scratch, so I would be able work on my own when she wasn’t there. If I made a mistake that I didn’t know how to fix, instead of being stuck and unable to continue, I had would have a fall-back.
After ripping out the stitches, I couldn’t remember how to cast on. She demonstrated again, but I was still having trouble. Then she said there was an easier way for beginners, called knitting on. She showed me that; it was not easier.
youTube to the Rescue
Eventually, I learned how to cast on by watching YouTube. I found a tutorial that I could pause or play over as many times as I wanted. Next I found a YouTube video demonstrating the knit stitch. That was harder to learn, but eventually I started to get it.
Knitting with String
Knitting with String
Because I was having trouble with strands of yarn unravelling, or poking the point of the needle through the middle of a strand, I found a ball of string in the garage and started knitting with that. It was easier to grasp with my fingers and easier to work with because the strands didn’t unravel. Still, every time I made a mistake, I had to rip out all my stitches and start over. One big problem was not knowing what I was doing wrong. The other problem was not knowing how to fix it.
Eventually I learned how to fix some errors by watching more YouTube videos, then intentionally making mistakes and fixing them. I also went back to the yarn store and purchased a handy fix-it tool.
Some Lessons Learned So Far
Knitting is harder than cooking. With cooking, after learning a few basics, you can make a grilled cheese sandwich. I expect it will be weeks before I’m ready to start a real knitting project.
Small wooden needles were easier to use because they are sharper, lighter and less slippery, so the thread does not slip off the tips.
It’s also easier to make mistakes with wooden needles by poking them through the middle of a strand of yarn.
Like other beginners, my first stitches were too tight, making it harder to get the needle through loops.
The knitted work has two different sides, called the right side and the wrong side. After each row, I need to flip over the work.
Knitting the first few rows, I needed to be careful not to knit the tail into the work.
Before I knew how to correct mistakes, I found knitting stressful, terrified I would do something wrong and have to go back to Start. Knowing I can correct mistakes, it’s now easier to relax and actually enjoy knitting.
Yarn gets really frayed after starting over several times, making it much more difficult to work with. After a few do-overs, it’s better to cut off and discard the used yarn.
The lady at the yarn shop who sold me the knitting tool is friendly and helpful.
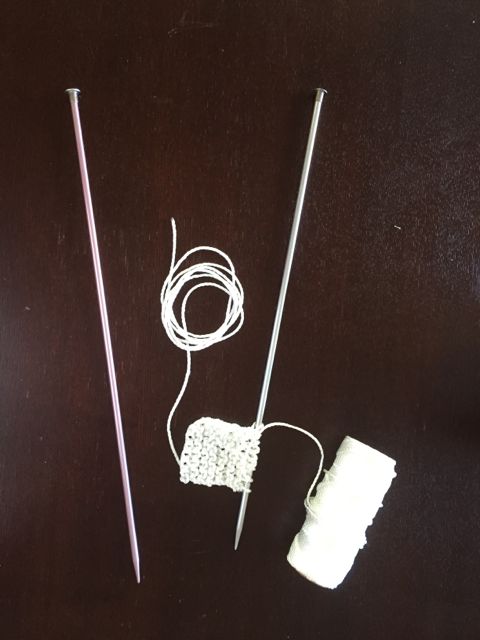
Graduating to Metal Needes Smaller wooden needles are at the right. Handy fix-it tool at bottom left
Footnote
Don’t infer that I learned everything from YouTube. I needed Martha’s help to get started, and I know I’ll want more help and hand-holding as my work progresses. She is the knitting Samurai. From her I learned what knitting actually looks like, how to hold the needles, how to hold yarn and move the needles, and what to look for in the finished product. More importantly, I’m inspired by the joy she puts into her work.
After riding several days of Pac Tour three days on platform pedals and sandals, I was surprised to find I could ride nearly as well as when I was clipped in, both on flats and climbing long hills. The advantages of having my feet free might outweigh the few advantages of being clipped in. However, the first time I did a test ride on these pedals in a parking lot, I smacked my right shin with a pedal resulting in a two inch hematoma.
Several authors and articles, such as Grant Peterson and the Flat Pedal Manifesto favor flat pedals. Perhaps platforms might be the best choice for riding future transcontinentals or even summer centuries.
Disadvantages of Clipless Pedals
By clipless pedals, I mean pedals that don’t use toe clips and lock the shoe with special cleats to the pedal. Brands include Look, Shimano, and Speedplay. All these systems have significant disadvantages.
Riders who come to a sudden stop sometimes have difficulty removing the cleat from the pedal. Infrequent as this may be, I know two experienced riders who broke their hips with this type of fall, and I know many other people who have received minor injuries, or broken parts like deraileurs.
Riders are prone to knee and ankle injuries when their feet are locked to the pedals and the angle is not adjusted correctly.
Riders are prone to injury walking with some types of cleats on slippery floors.
Walking outside in cleats can get them clogged with dirt and grime.
Mythical Advantages of Clipless Pedals
Clipless pedals can allow an experienced rider to provide more power to the pedals under some circumstances. However, they do not provide most advantages for which they are credited.
Riders do not pedal in circles. Mostly they push down.
With few exceptions, riders almost never apply power by pulling up on pedals.
There is no evidence that clipless pedals are more efficient than platforms.
Hypothesis
If platform pedals are better than clipless pedals for long rides, then I can ride flats and climb just as well and feel more comfortable walking around, because clipless pedals do not provide any advantage in power or efficiency.
Experiment
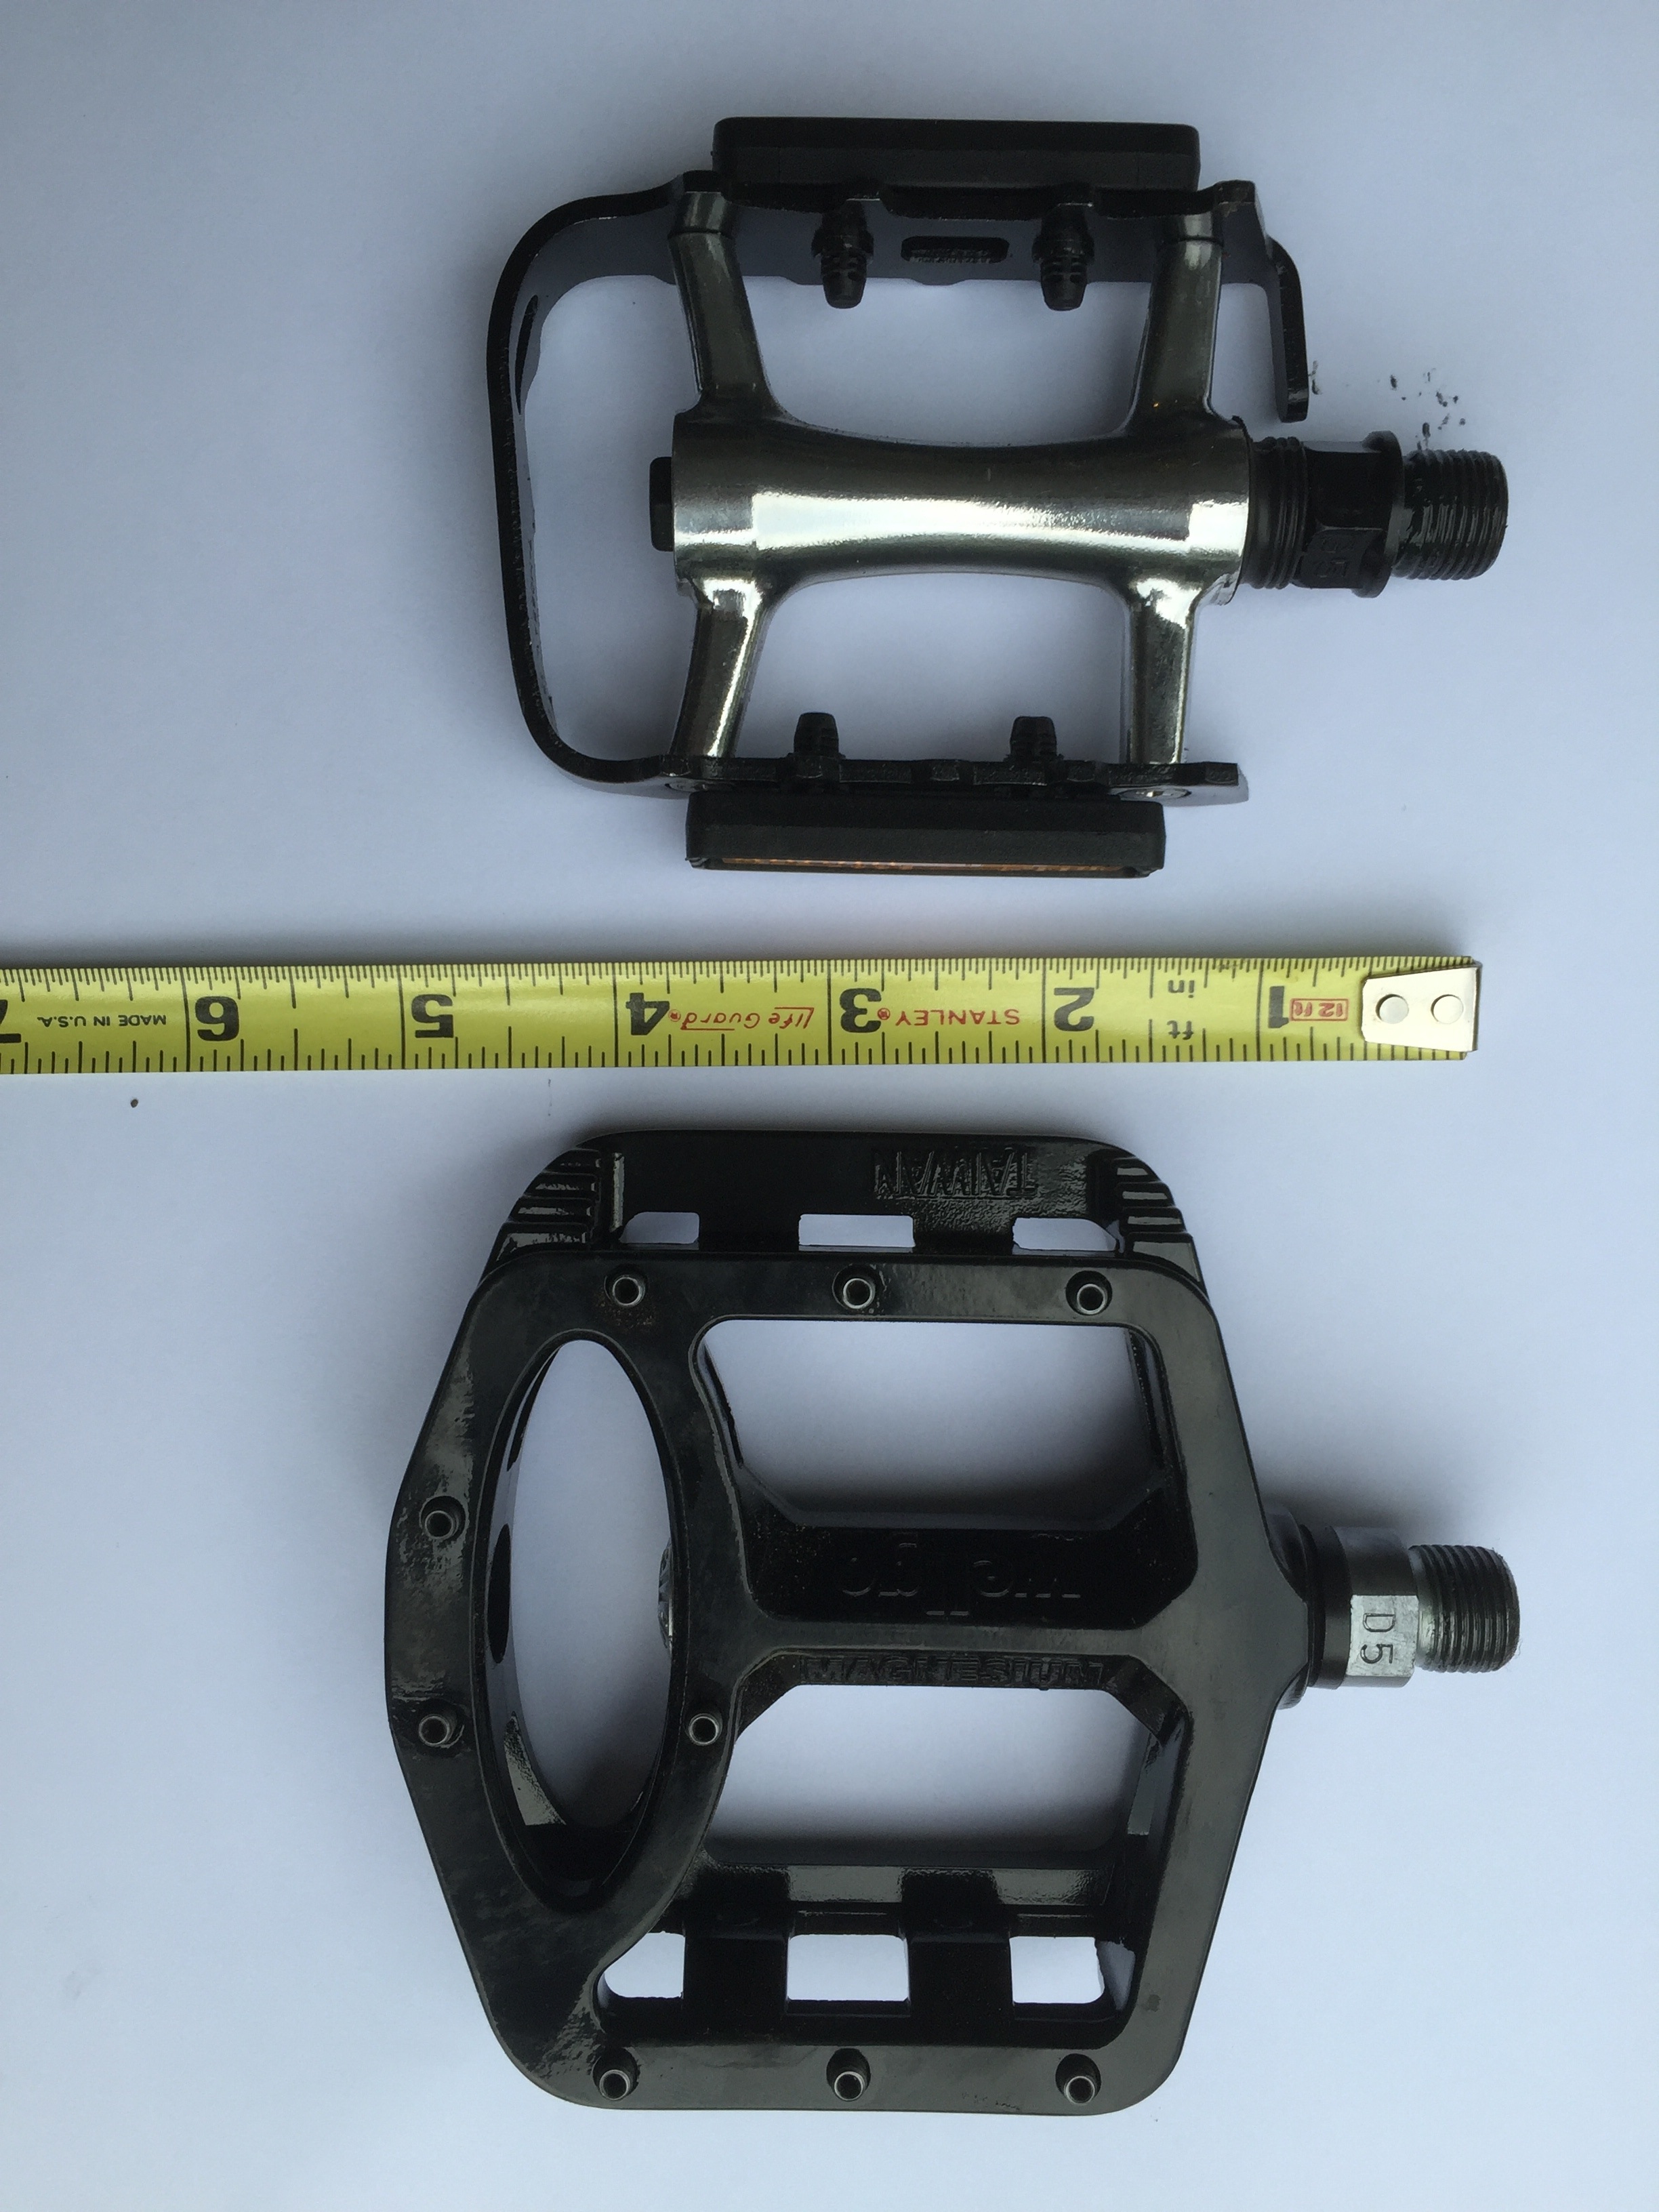
Small and Large Platform Pedals
On Bainbridge Island, I did a test ride wearing Asics GT-2000 running shoes on the small platform pedals shown in the top of the picture. I felt like my shoe was slipping off the outside of the pedal.
I tried the same shoes on the larger platform pedals and experienced no problems riding easy hills and flats. The first time I tried climbing Toe Jam Hill (average grade 17%) riding seated, I noticed a tendency to pull my foot off the pedal at the bottom of the stroke, but had no trouble correcting for this problem. I climbed the hill standing on my 34-28, then again seated using my 34-32. I was not riding hard, just checking to see if I felt comfortable. Strava reports my segment time as 3:10, 6 seconds longer than my PR.
Two days later, I climbed Toe Jam Hill harder on platform pedals, perceived effort maybe 90% of max, with the goal of beating my PR. Results: Strava reported 2:16, or 48 seconds less than my previous PR.
Moving Forward
So far, limited evidence supports my hypothesis. My plan is to continue riding platforms for several days, including longer rides over different terrain. Also (groan) I suppose I should try Toe Jam again my Speedplay pedals with the goal of trying to beat my PR on platforms.
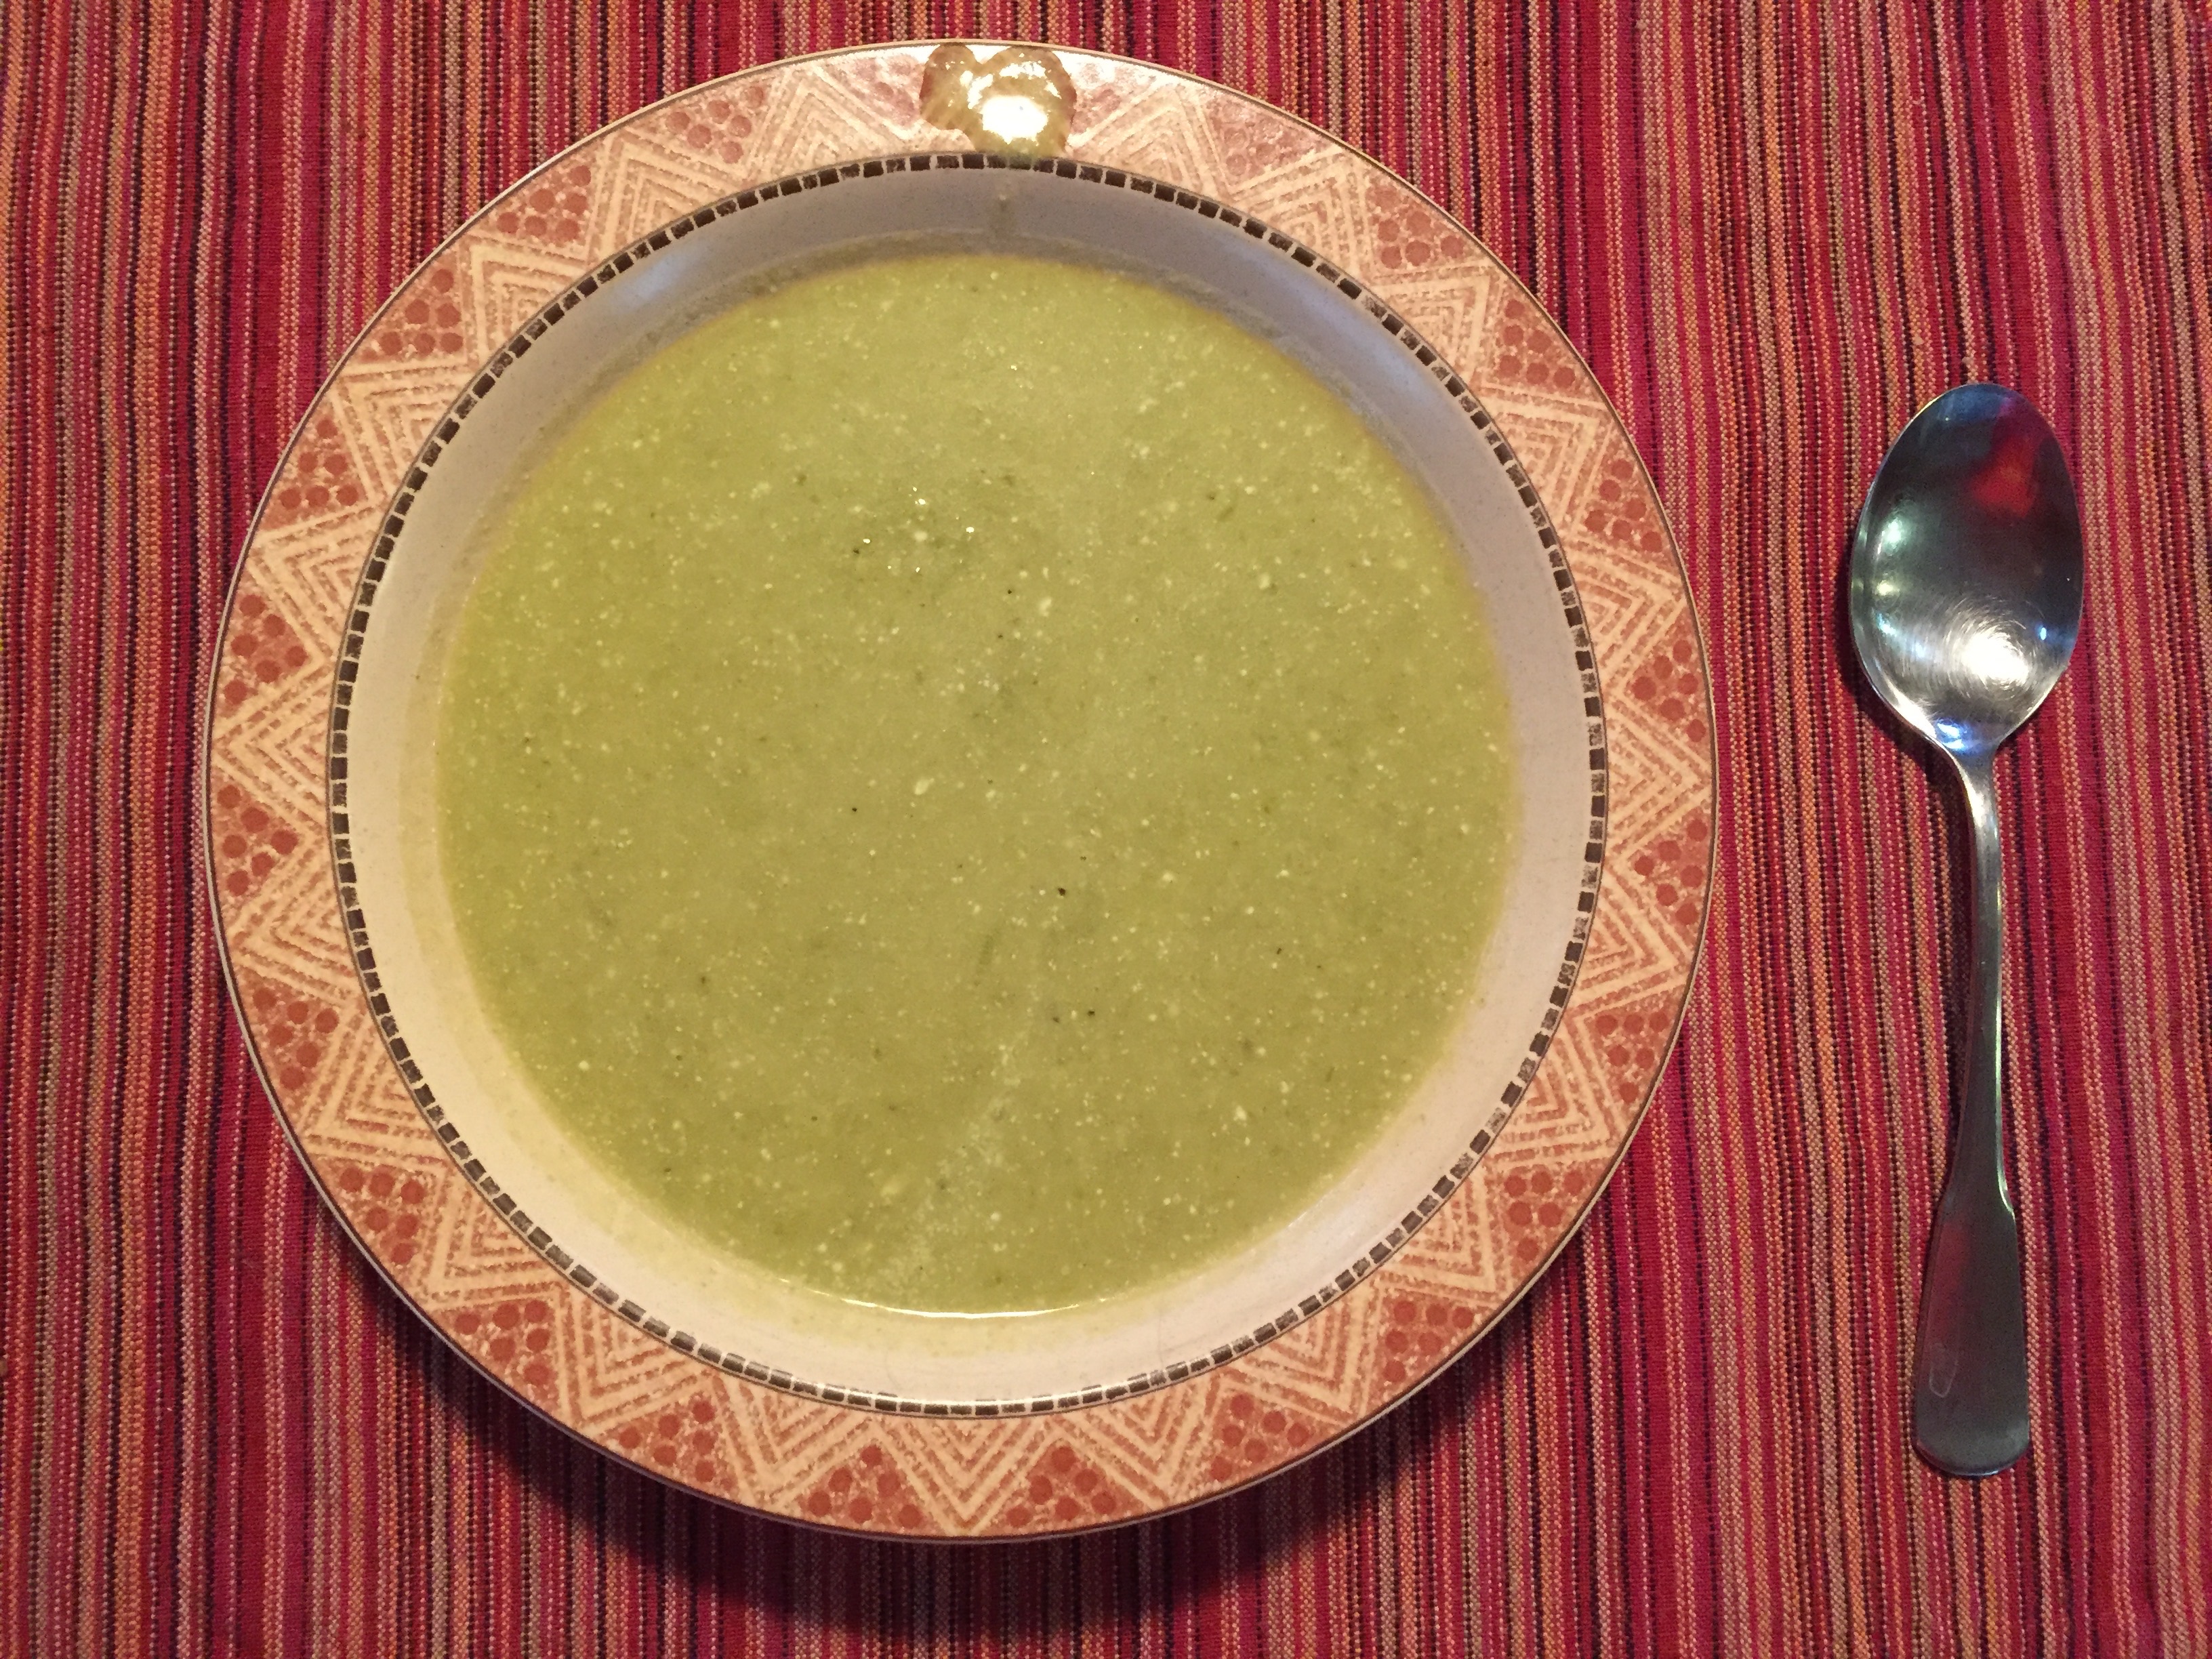
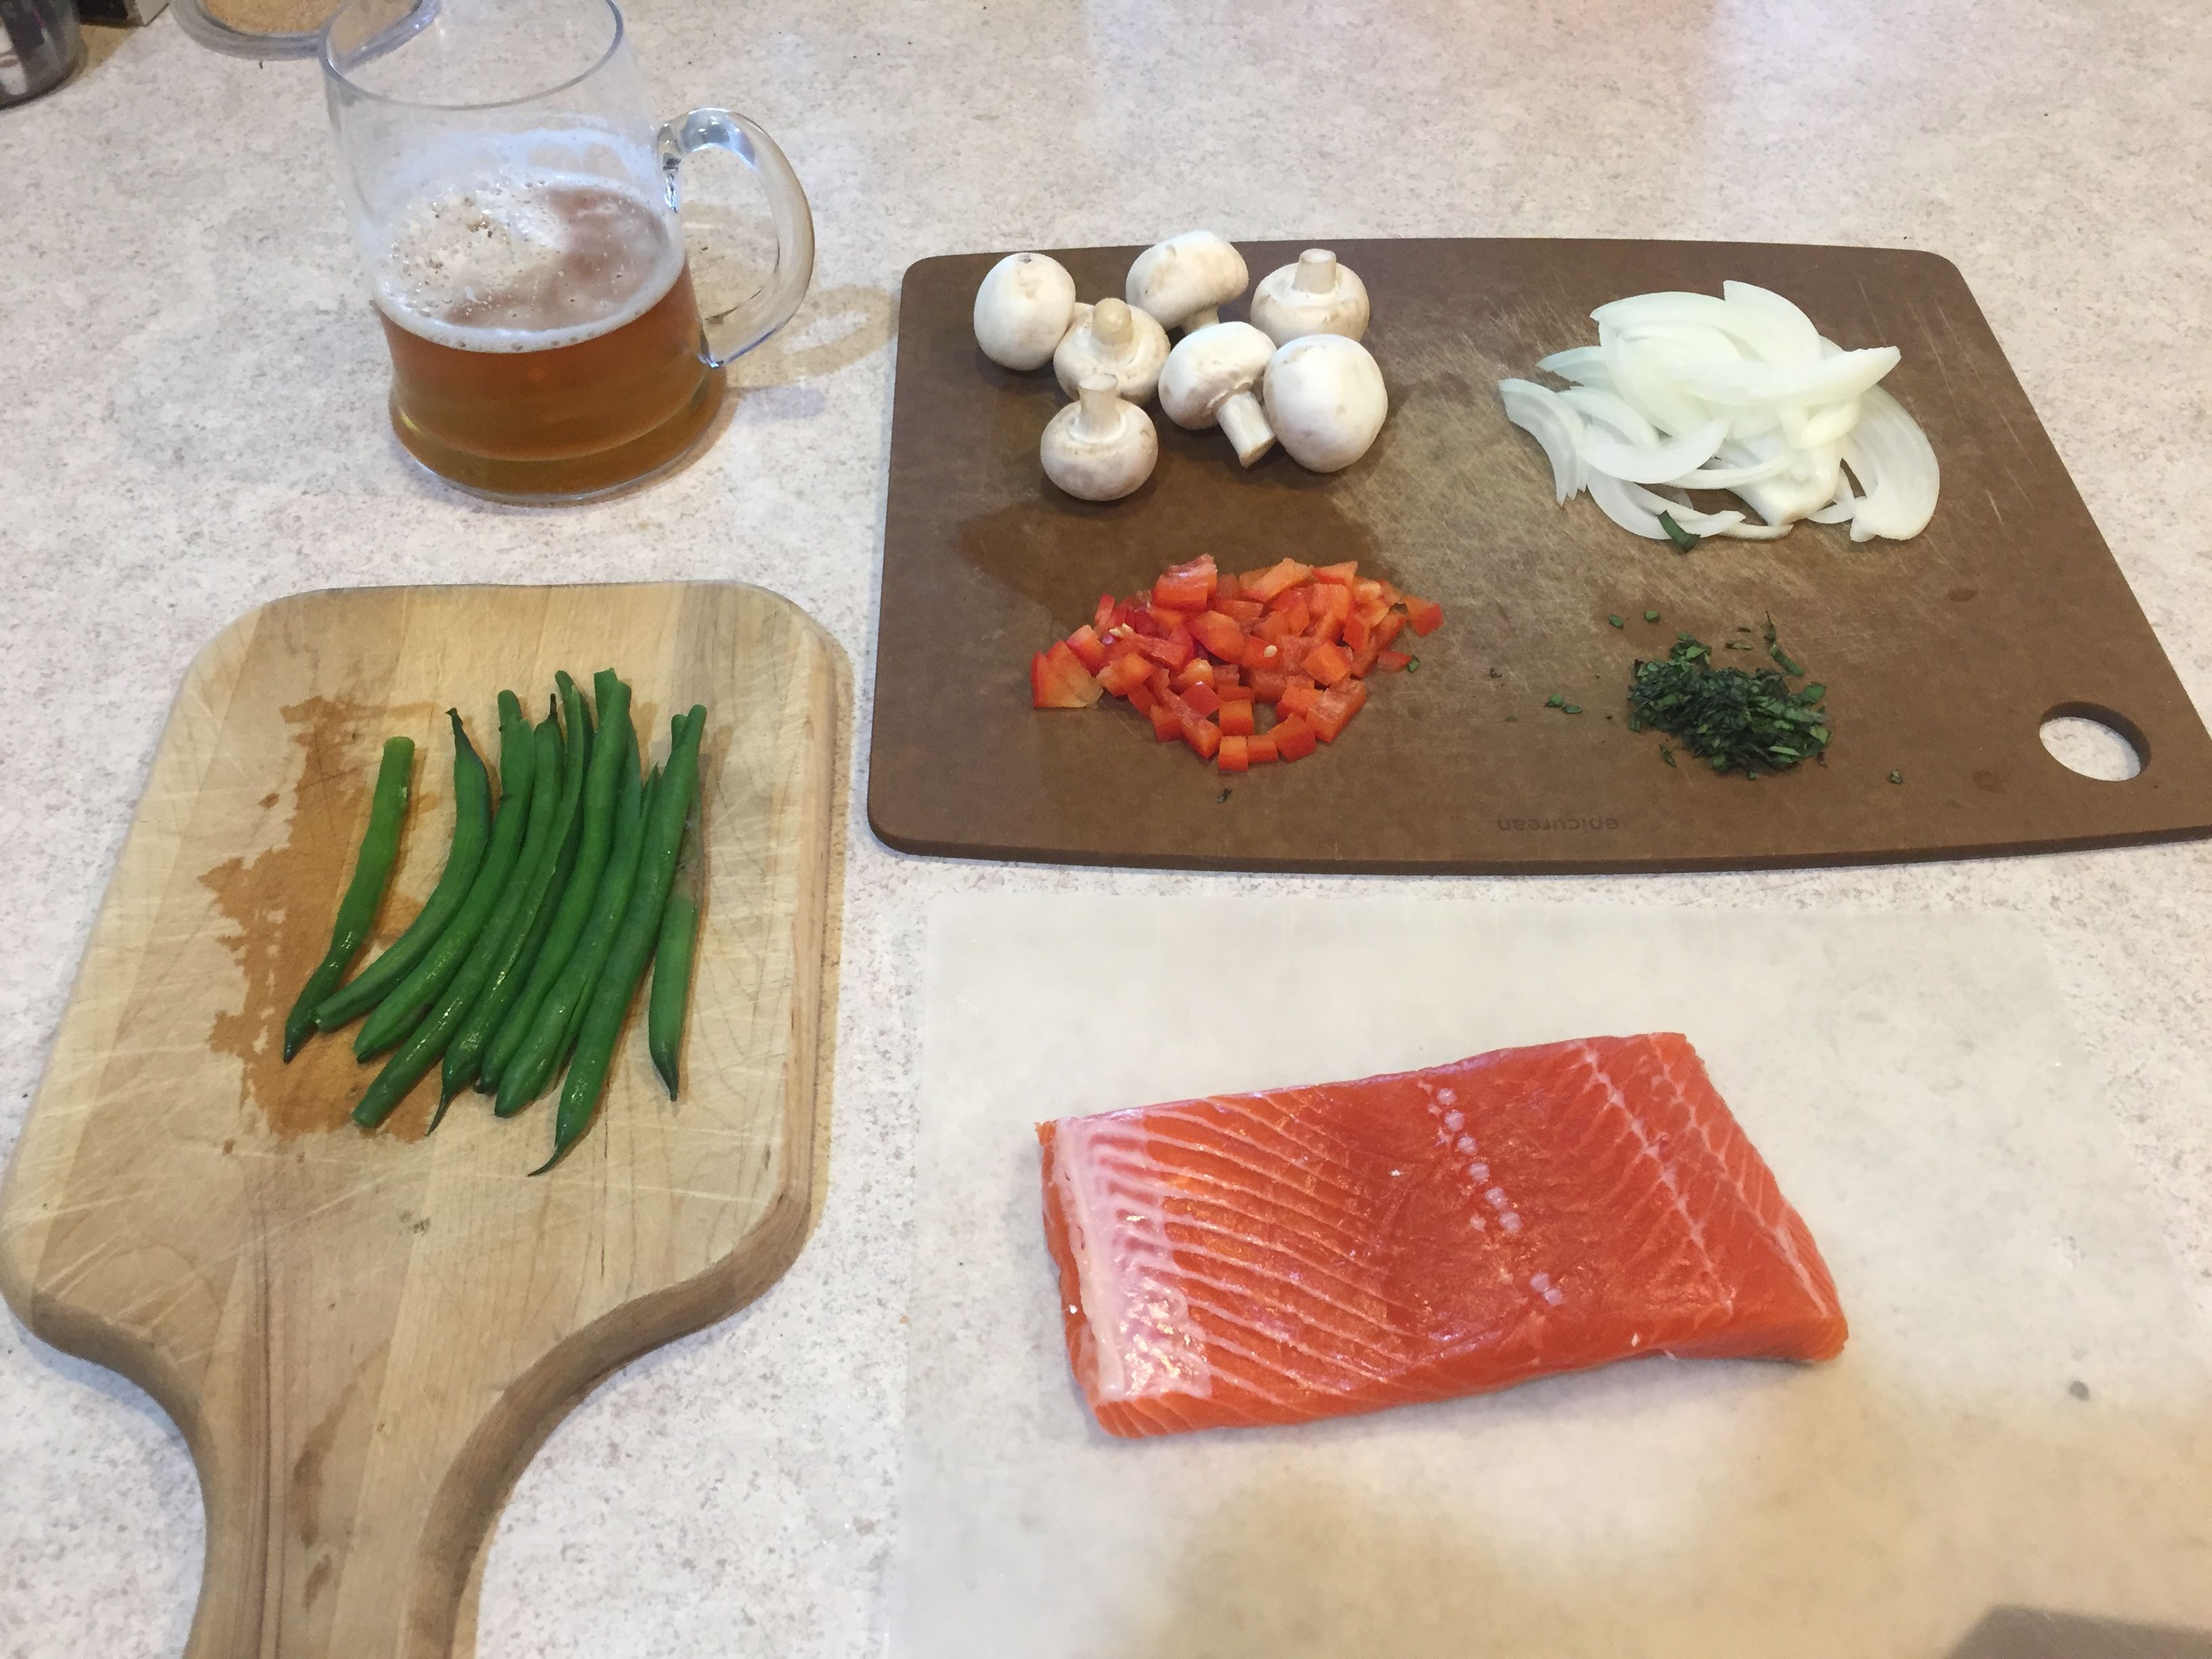
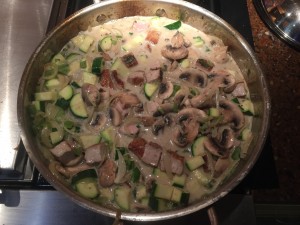 Ingredients